Single Computer Visual Studio iOS Development
Having installed Windows on a Mac using Bootcamp we can now boot natively into either Windows or OS X.
When developing Xamarin iOS apps using Visual Studio a connection to a running Mac is required. Using a Virtual Machine such as Parallels or VMware Fusion we can run Windows on a Mac and therefore have a single computer solution for Visual Studio Xamarin iOS development.
VMware Fusion Boot Camp Options
I've opted for VMware Fusion 8 Pro which provides two options for creating a virtual machine and utilising the Boot Camp Windows installation. This is documented at Working with VMware Fusion and Boot Camp partitions, the options being to import the Boot Camp installation into a new virtual machine or to launch the Boot Camp installation directly in Fusion.
If directly launching the Boot Camp installation then some of the features of the Virtual Machine are not available, principally these are no snapshot, auto-protect, suspend and resume and backup.
So far I have just opted to use Fusion directly launching Boot Camp, and while this lacks some features I haven't yet missed these. The advantage of this method is that we are using the exact same Windows installation regardless of whether we are running in a virtual machine under OS X or natively using Boot Camp.
I have encountered errors using this method once where the Fusion Virtual Machine refused to start (after updating Fusion) and once when Windows Explorer wouldn't run in the Virtual Machine. In both instances I simple deleted the Boot Camp Virtual Machine from the Fusion Virtual Machine Library and re-created a new one. This repair is very fast to do.
Setup Fusion using Boot Camp
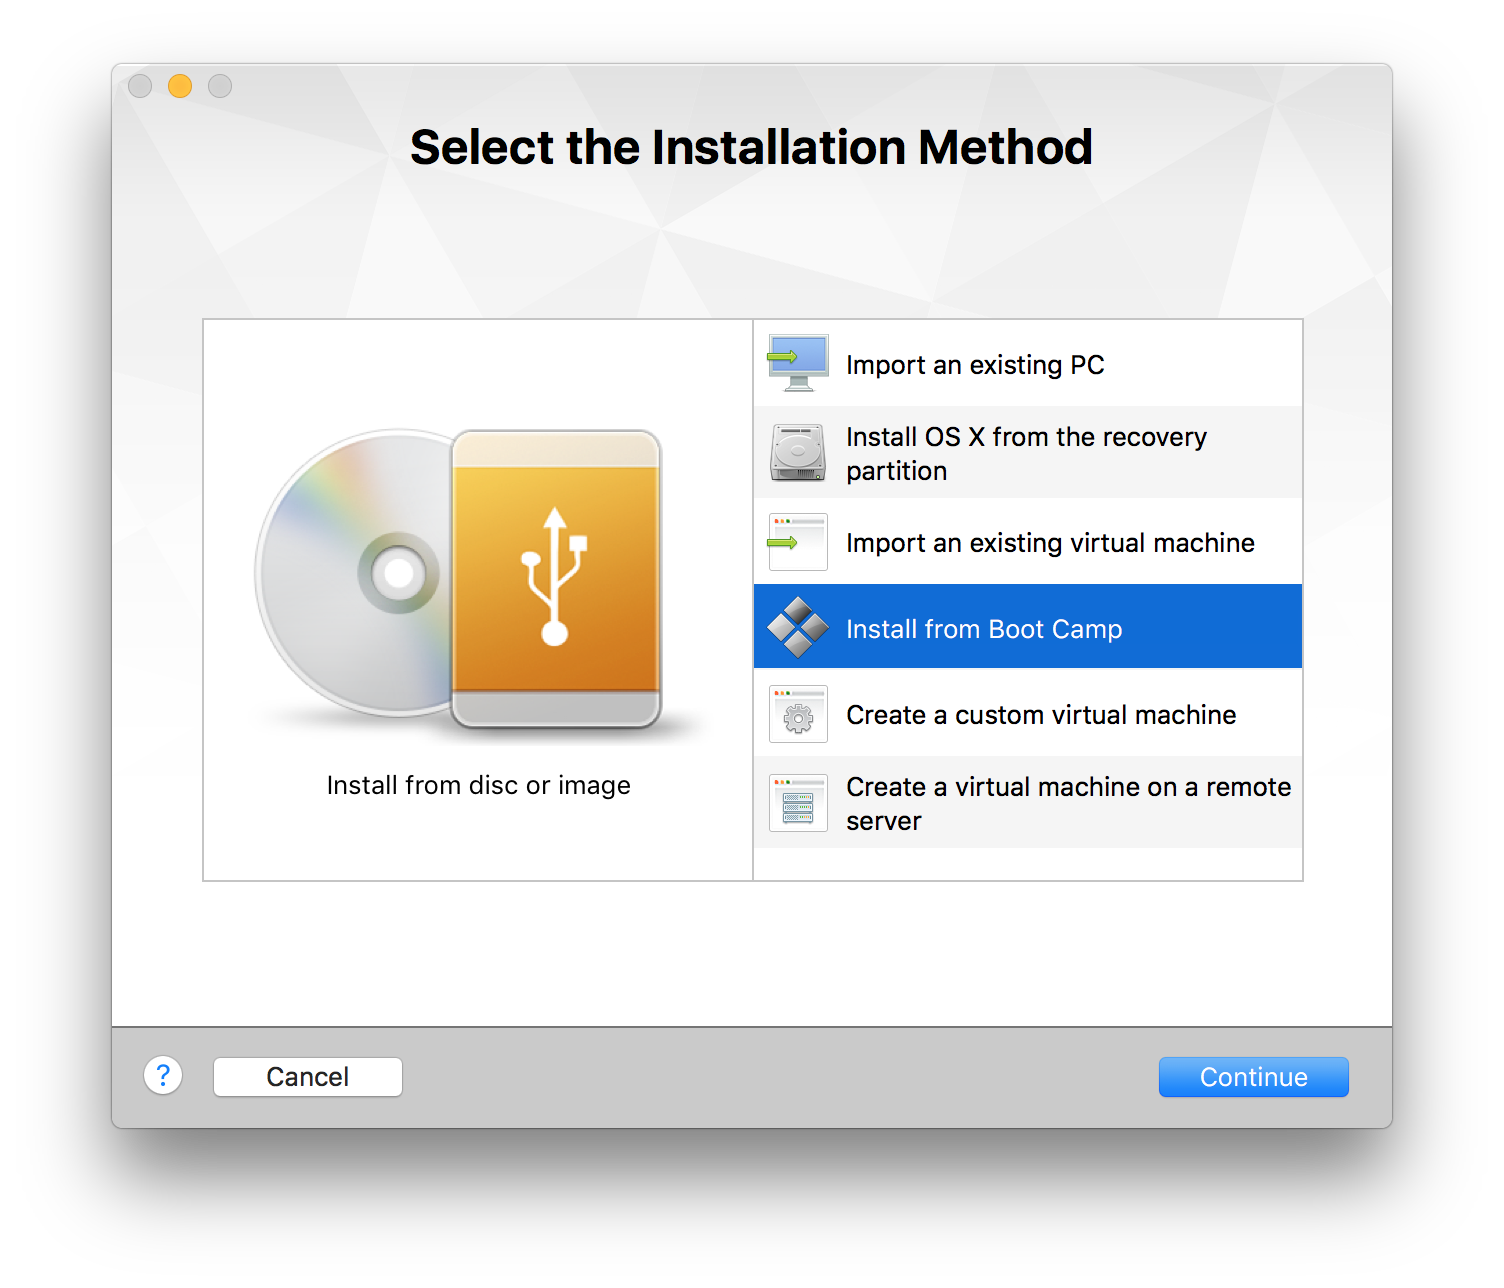
After Fusion has been installed we need to create a Virtual Machine. This is available from the menu options File->New or from the Virtual Machine Library Window. The Select the Installation Method dialog shown below will be displayed. Select the Install from Boot Camp option as shown.
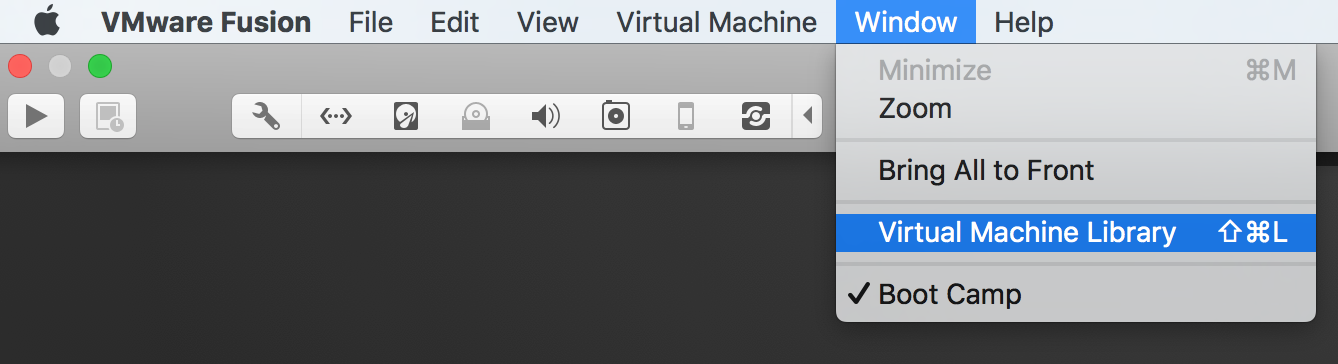
To display the Virtual Machine Library select the menu option Window->Virtual Machine Library.
The Virtual Machine Library displays the current virtual machines and allows creating new ones.
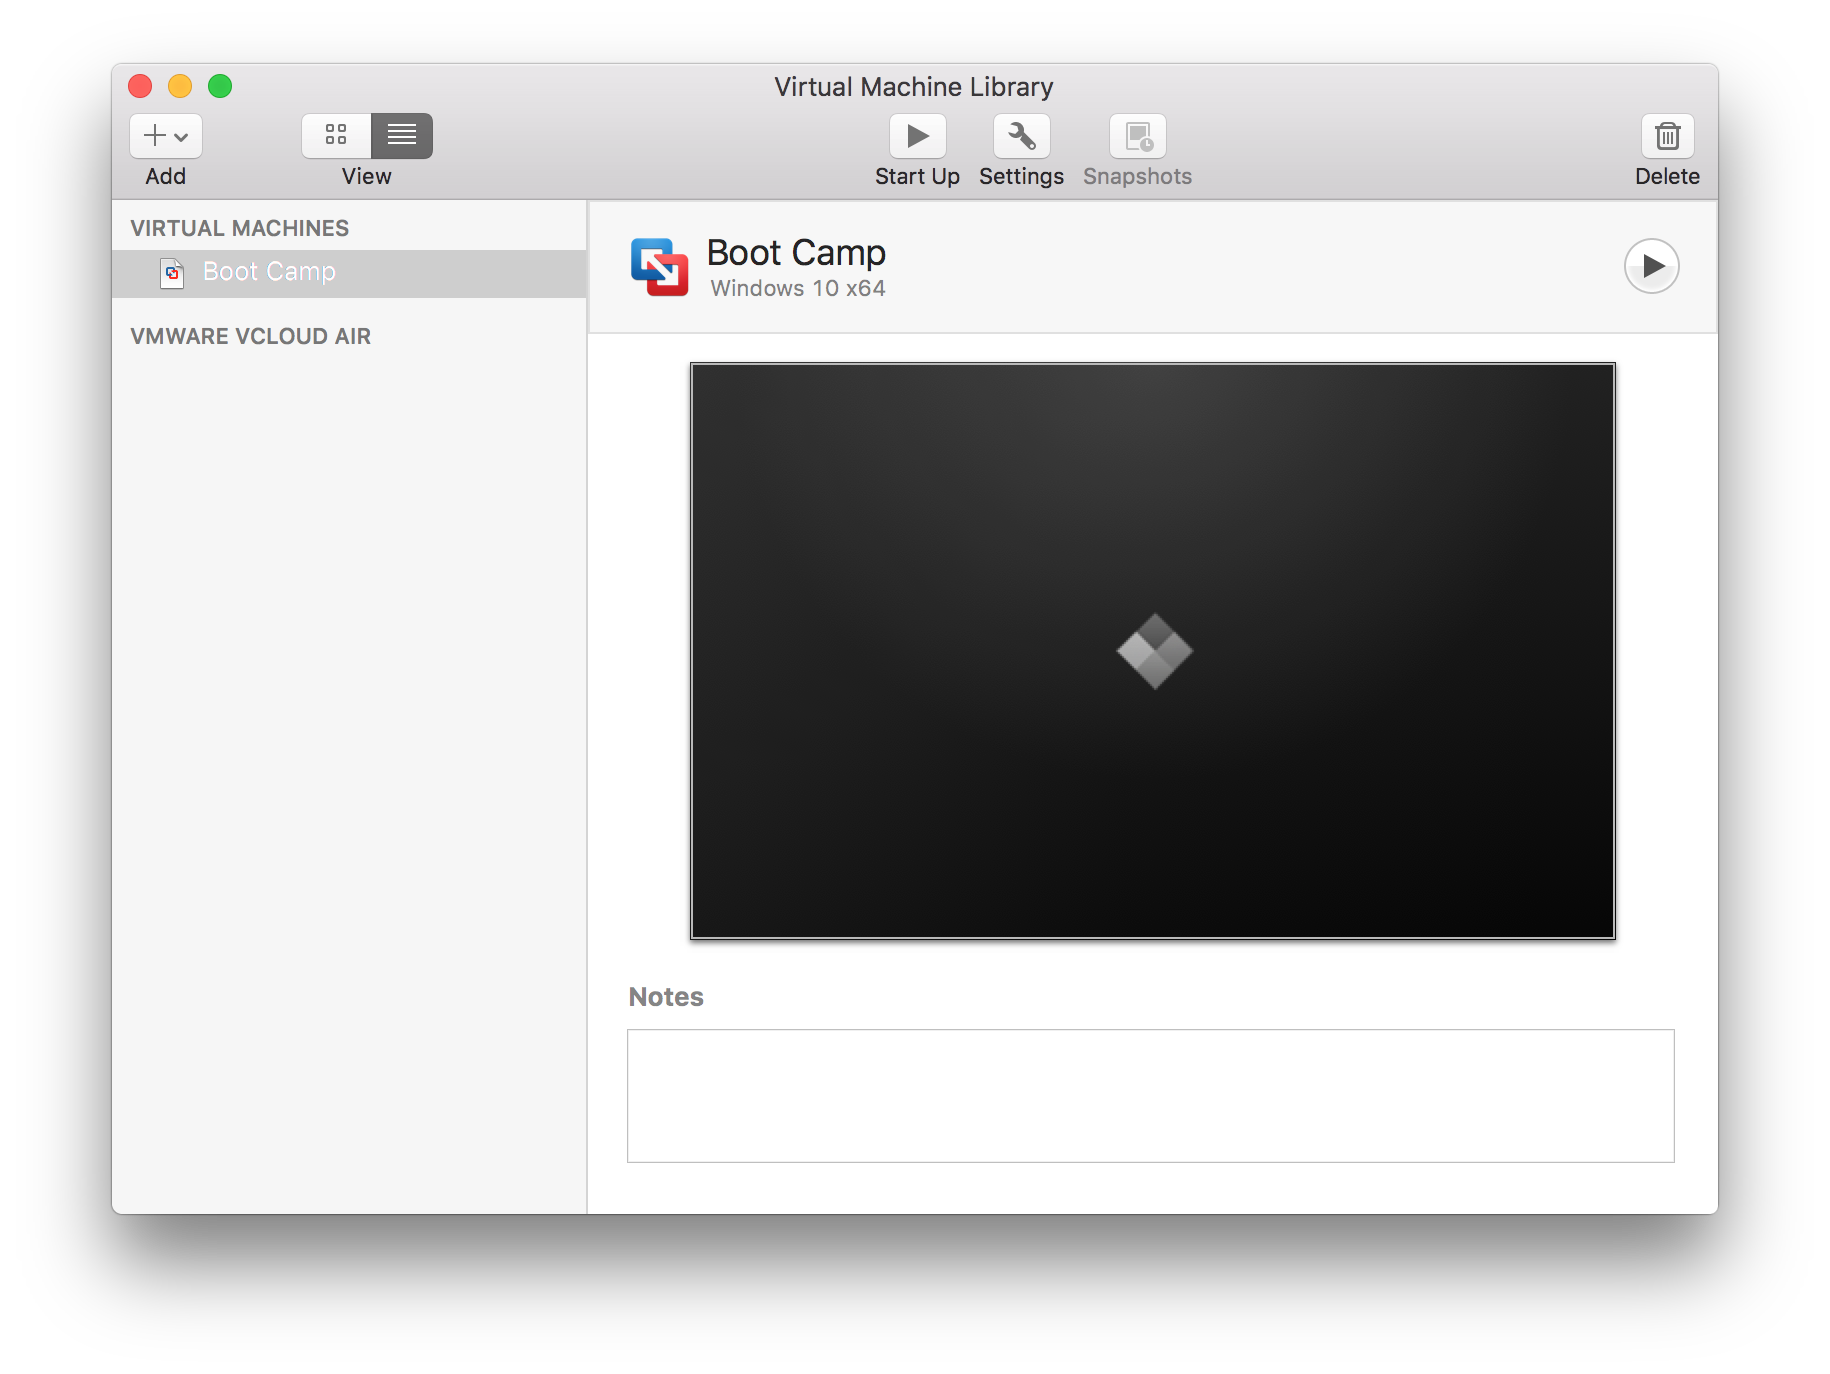
The Add->New ... menu option will display the Select Installation Method dialog shown above.
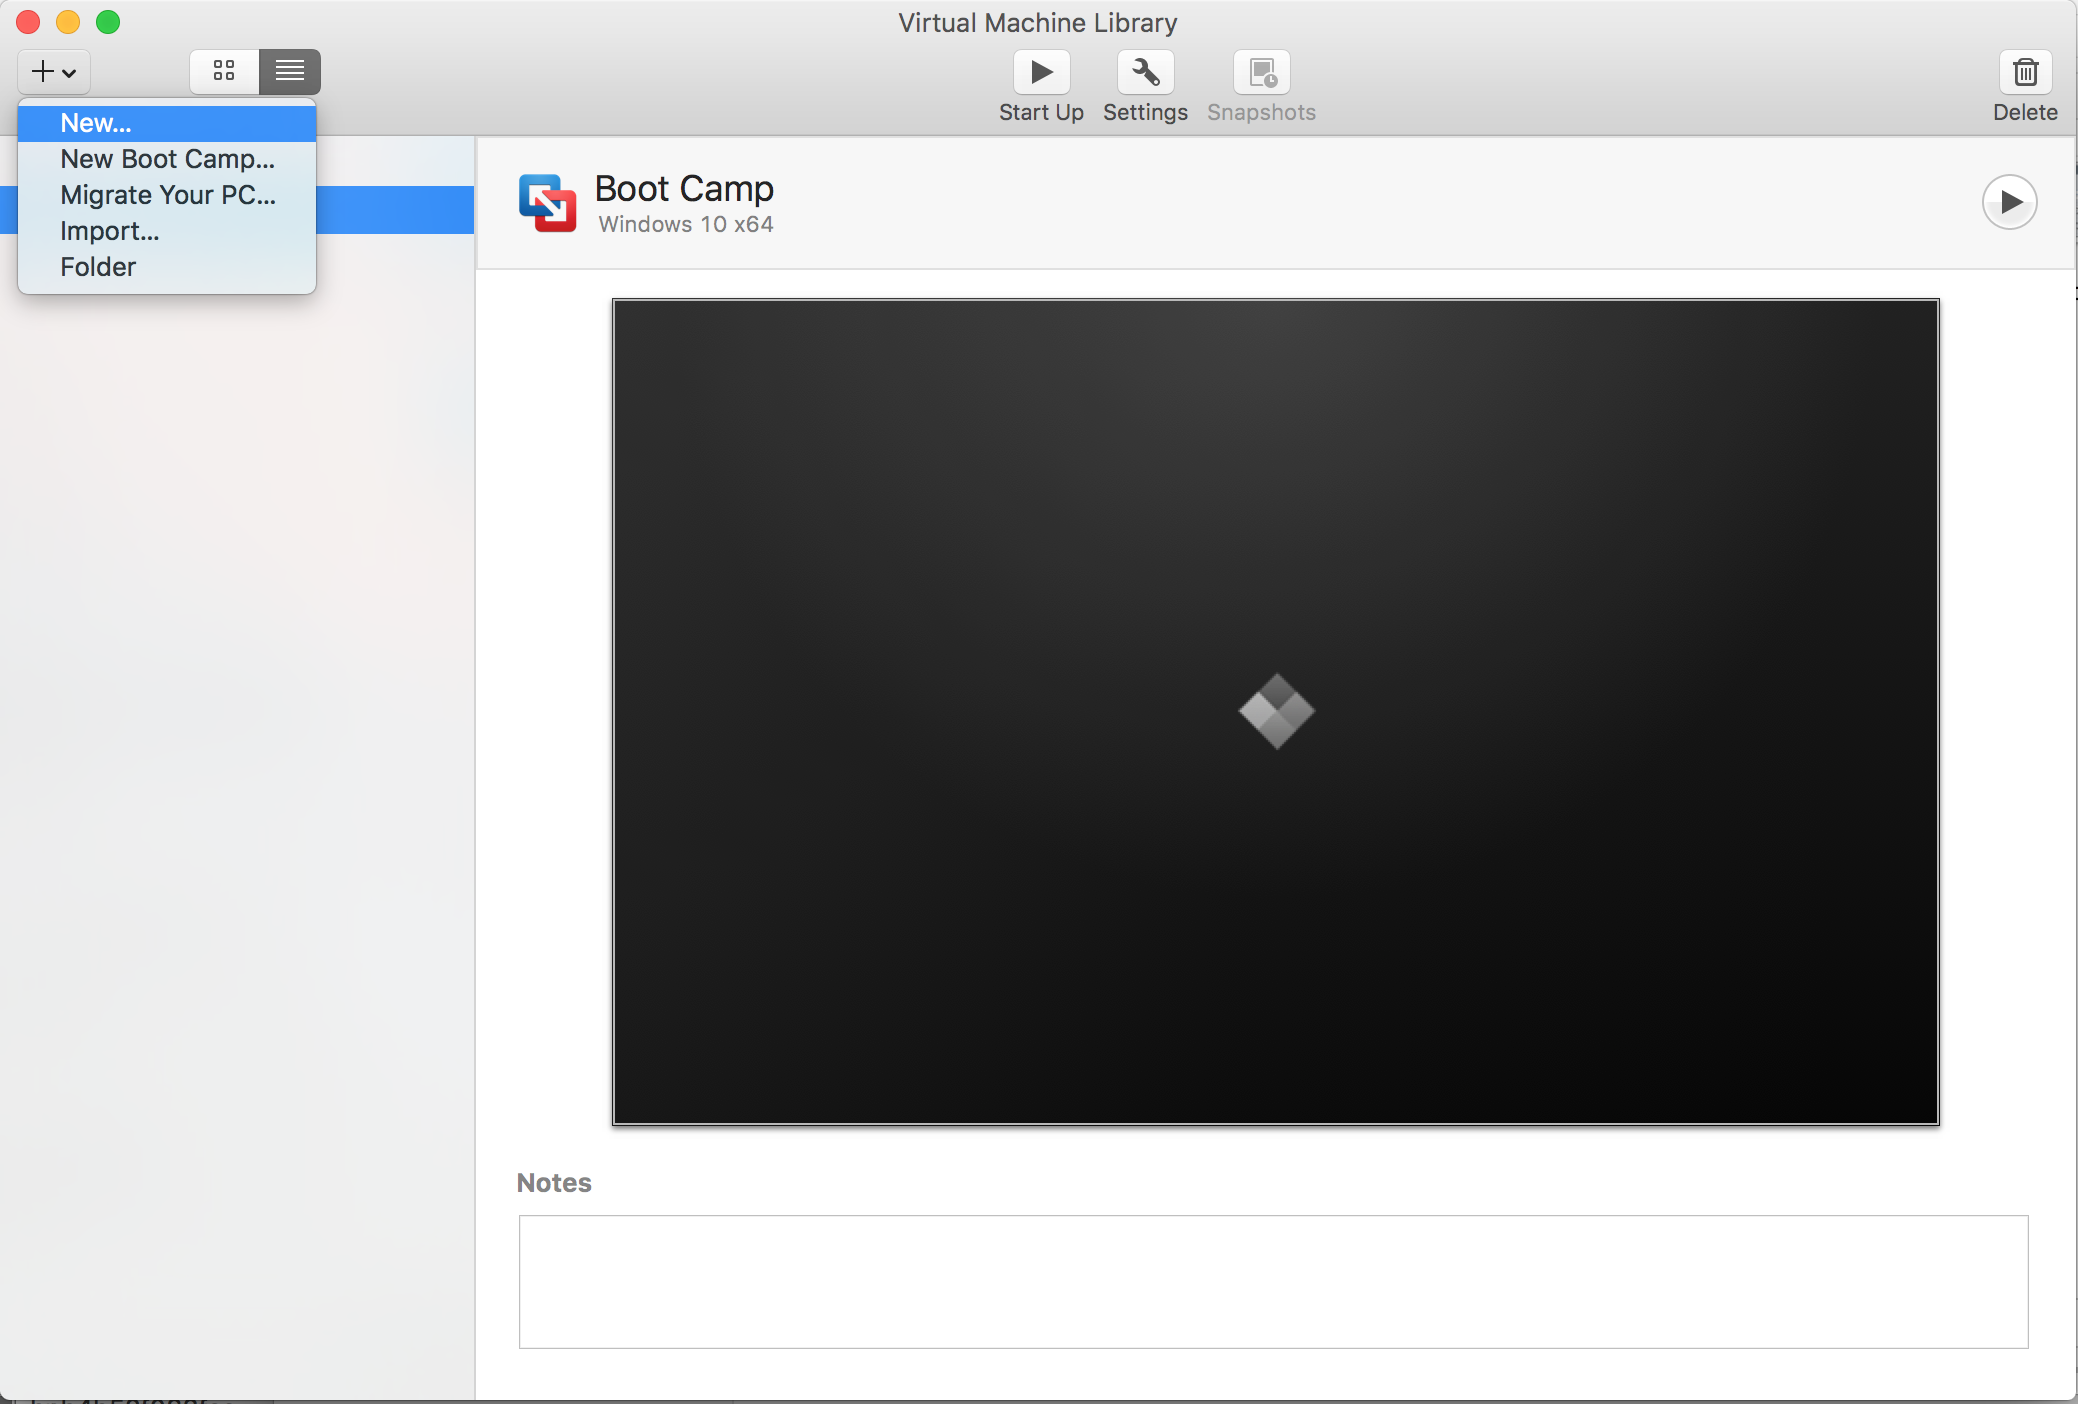
Press the Continue button and the Choose a Boot Camp Volume dialog will be displayed as shown below. Note choosing the Virtual Machine Library menu option Add->New Boot Camp ... will also display this dialog.

To directly run the Boot Camp Windows installation choose the first option 'Create a Boot Camp virtual machine' as shown above.
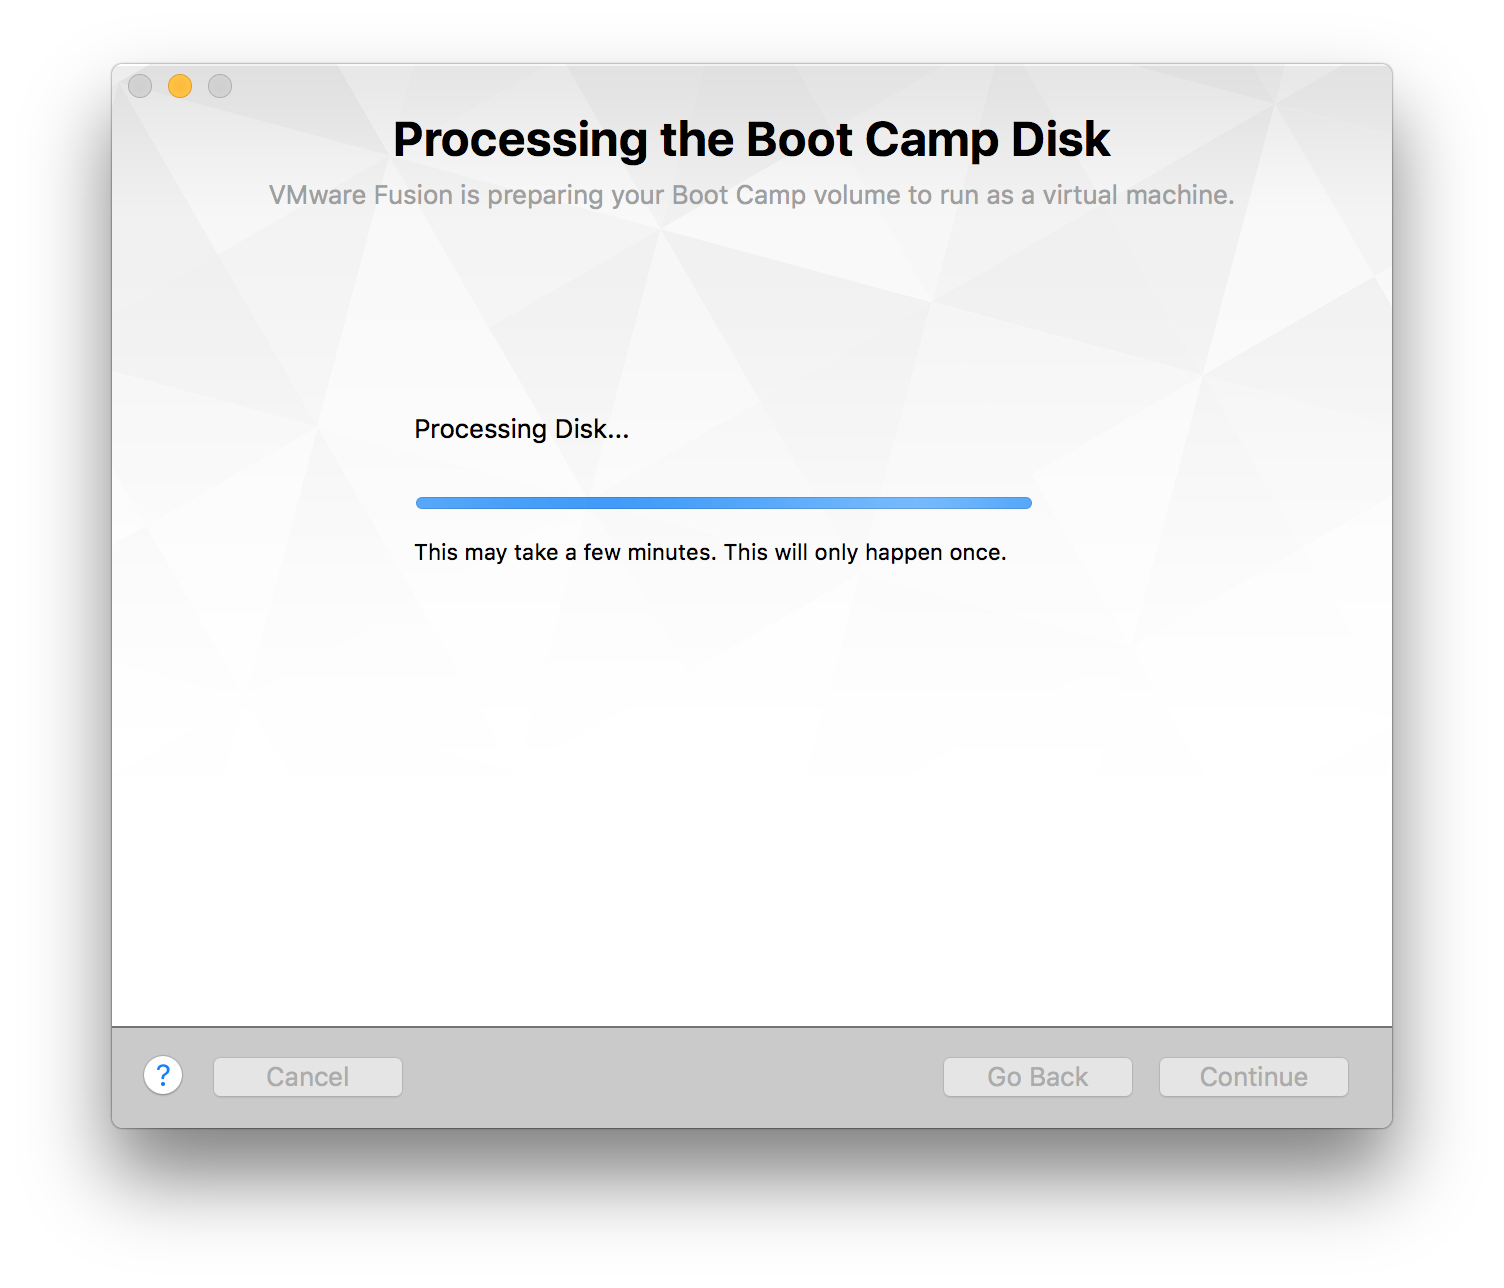
Press the Continue button and the progress dialog below is shown.
When the process has completed the Finish Summary dialog below is displayed. Pressing the Customise Settings button will display the Settings dialog, this can be done later from the settings spanner toolbar button or the menu option Virtual Machine->Settings.
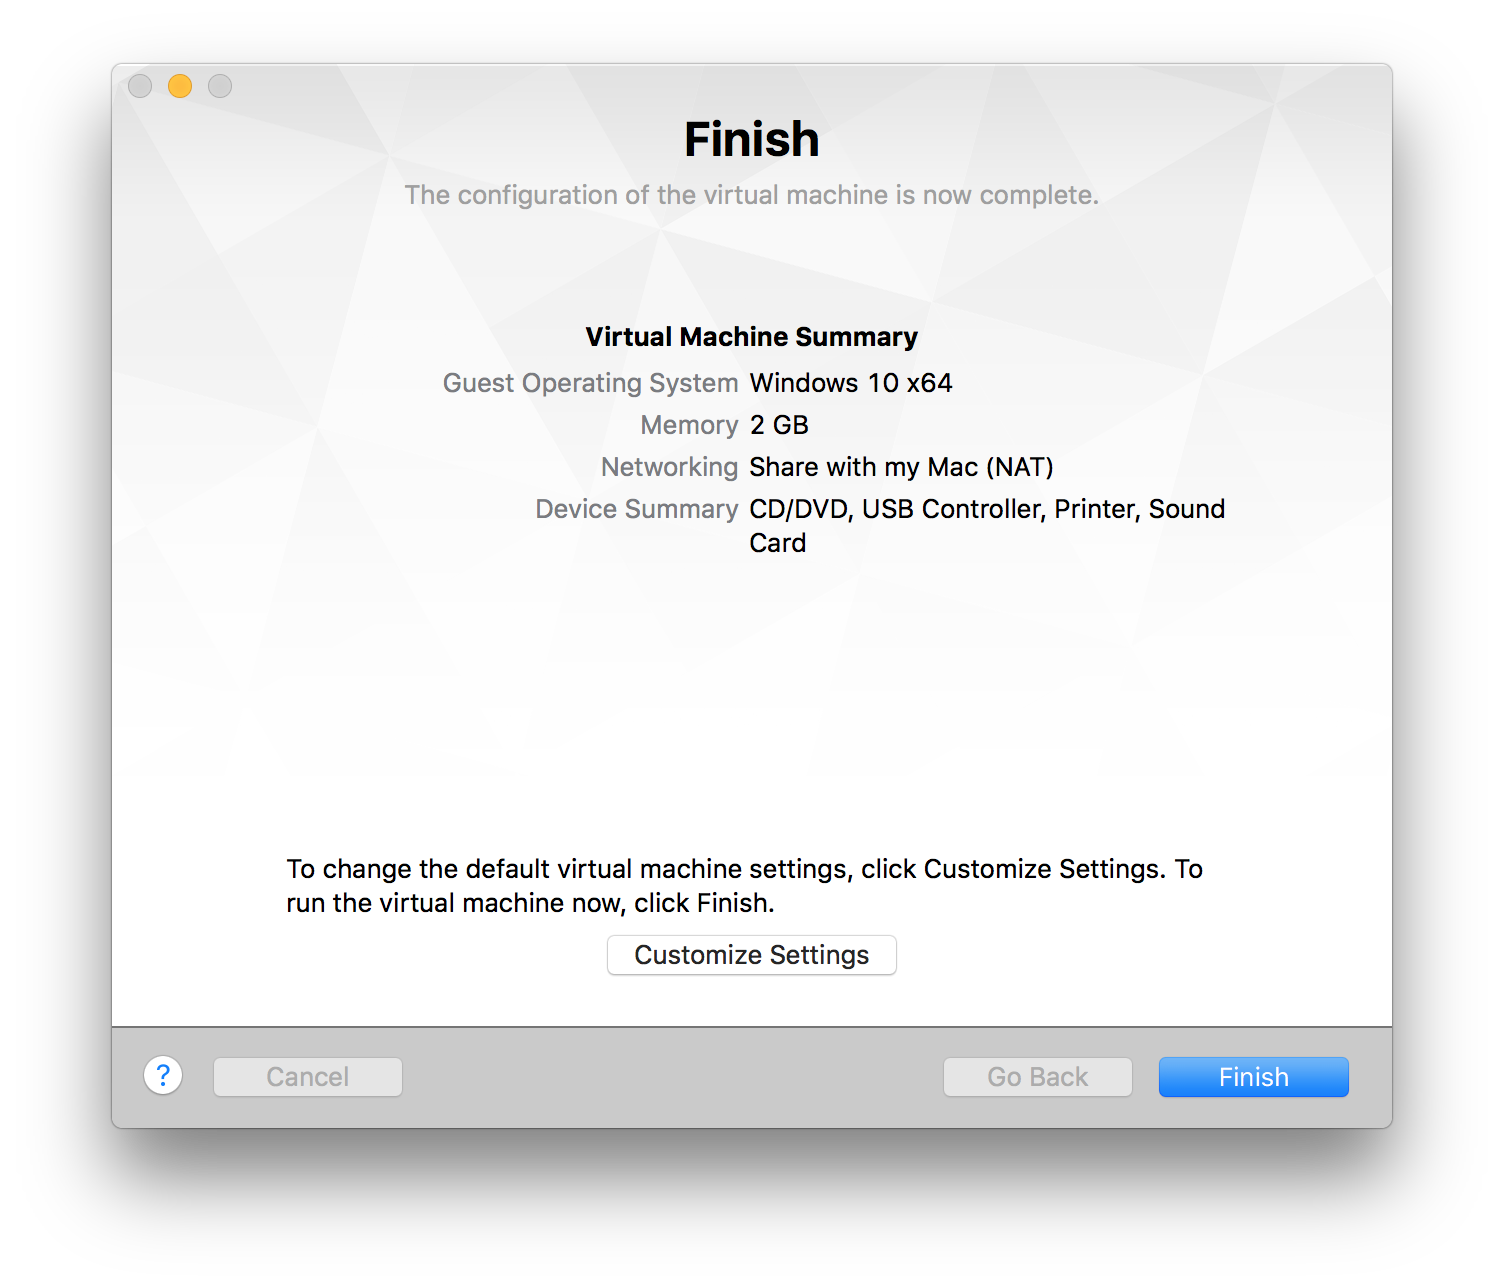
Pressing the Finish button will close the dialog and run the Boot Camp Windows in the new virtual machine.
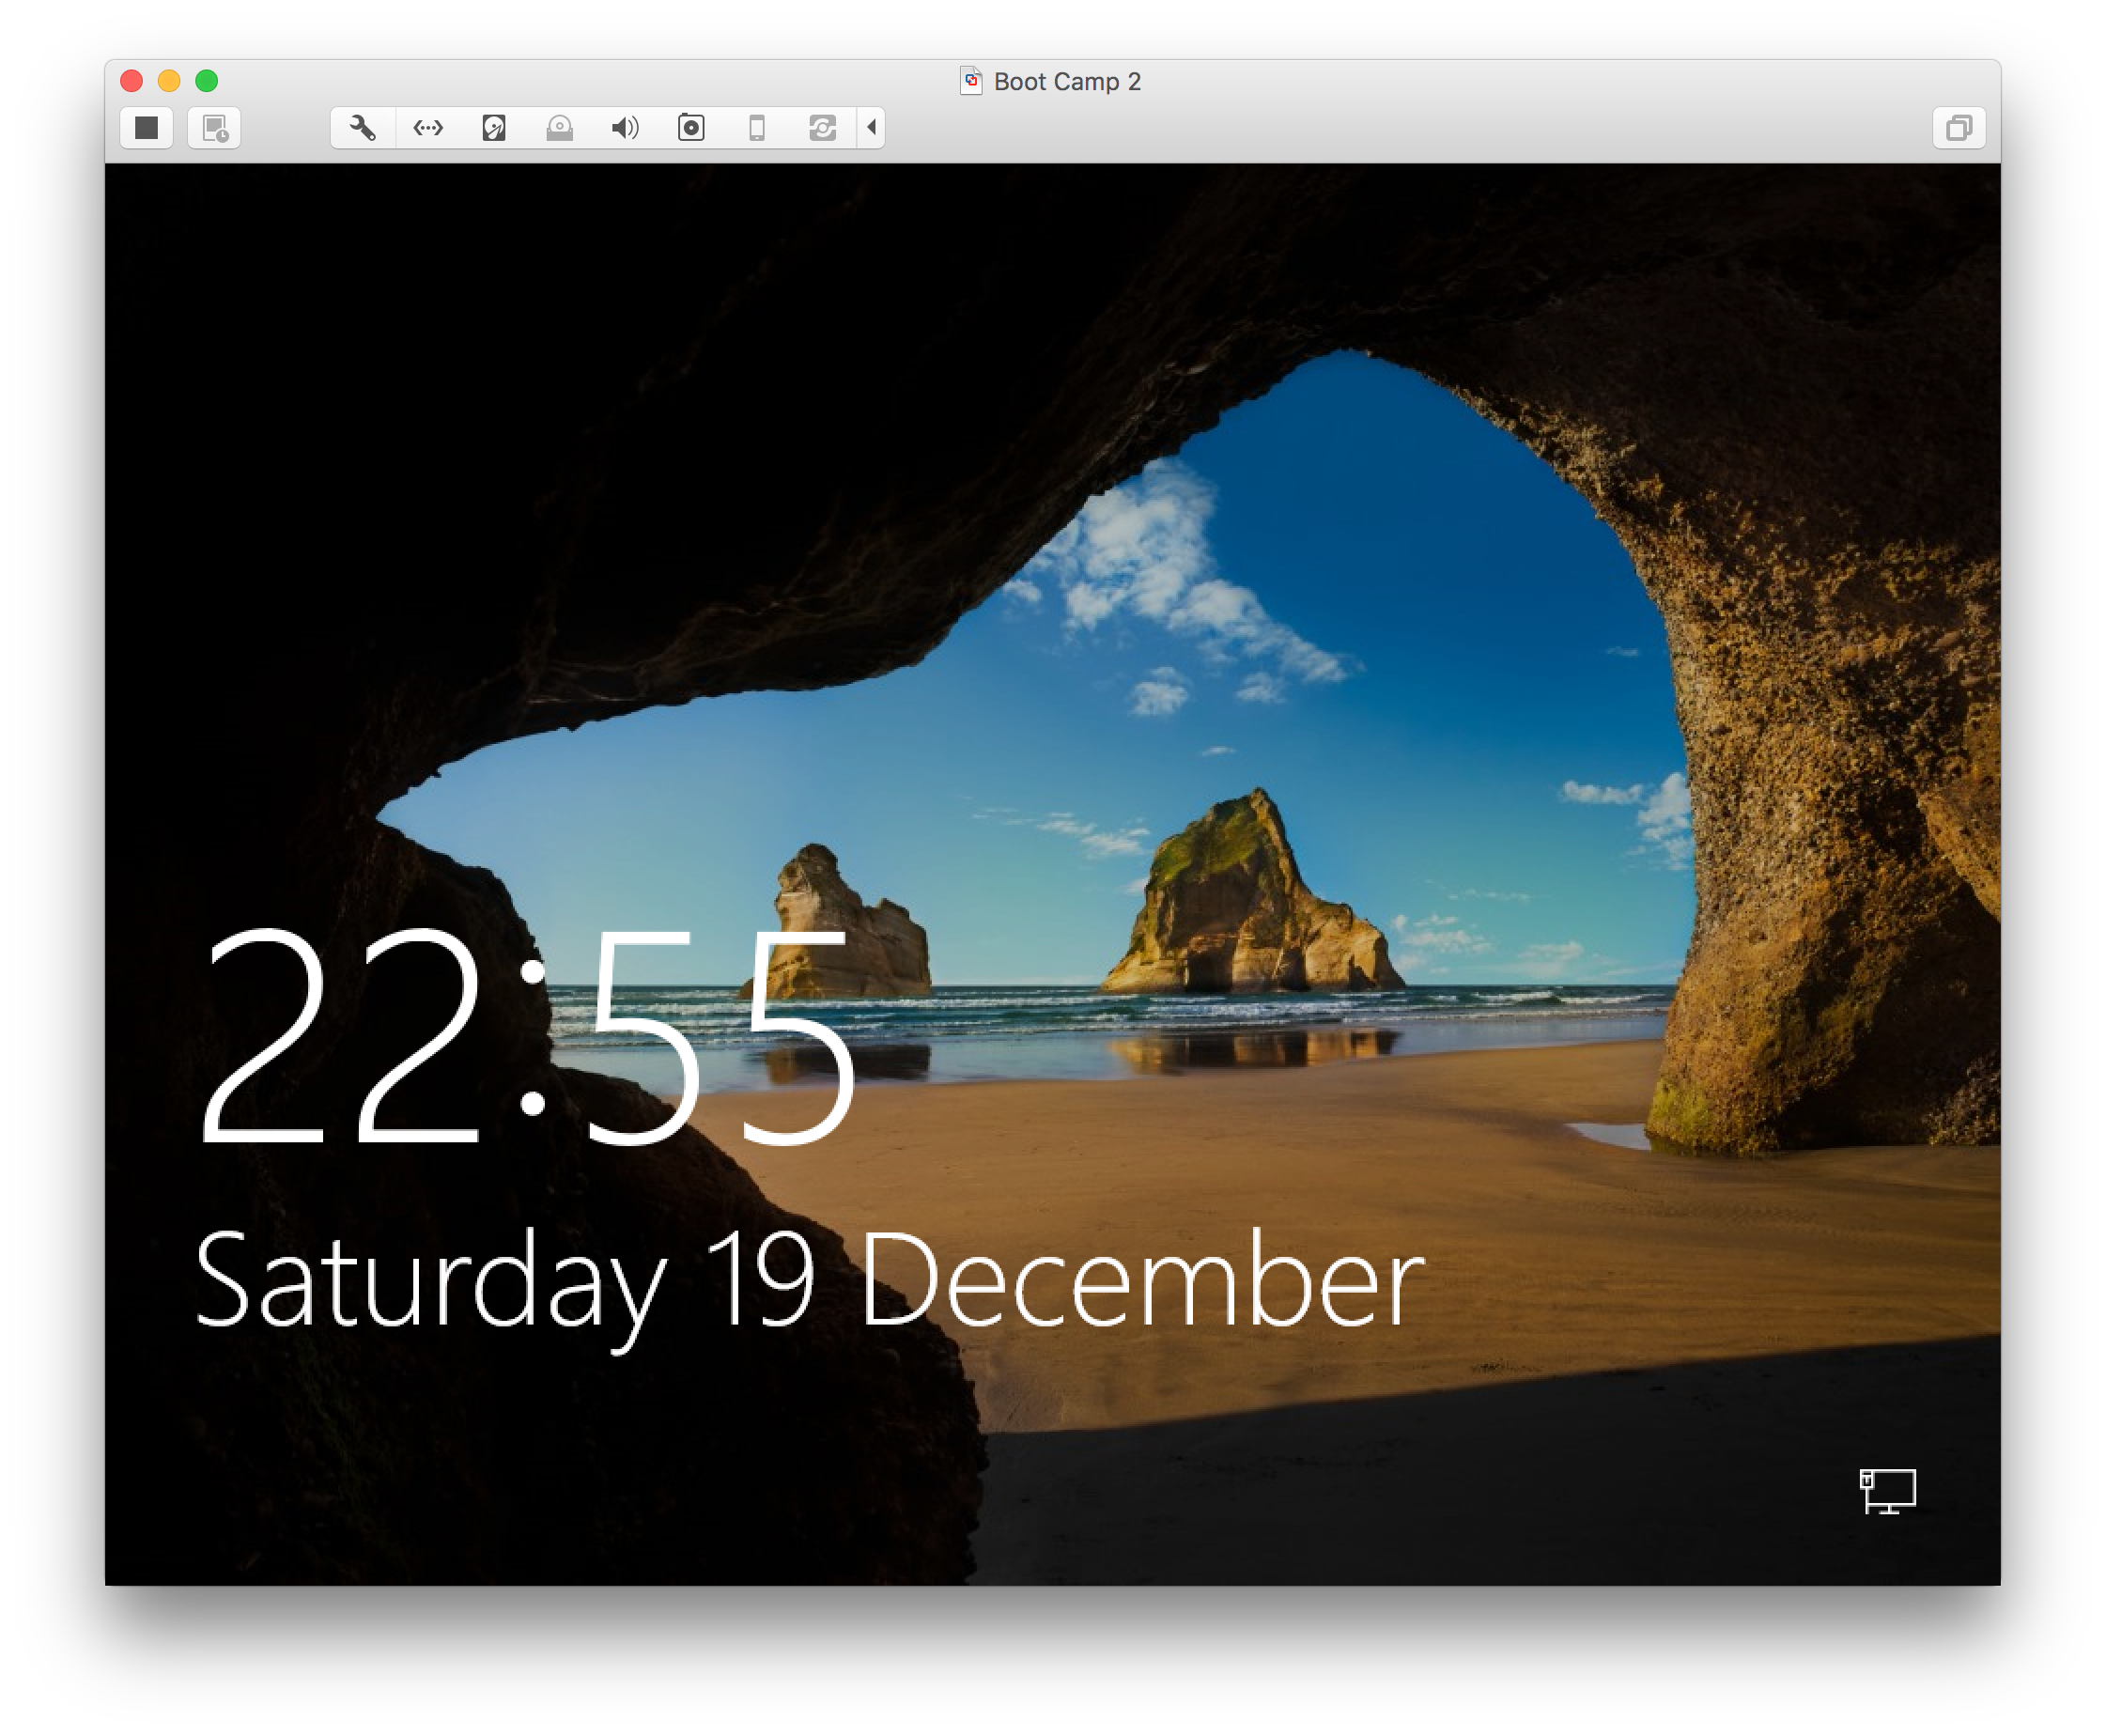
Log into Windows and VMware Tools will install, when this has finished a restart of Windows is required as shown below. The VMWare Tools will fix the display to work with the high resolutions of a Retina display and provides features such as Shared Folders.

If using the virtual machine for development using Visual Studio you are probably going to want to customise some of the settings for Processor and Memory to give the virtual machine more resources.
Display the Settings for the Virtual Machine by using the menu option of the toolbar button.
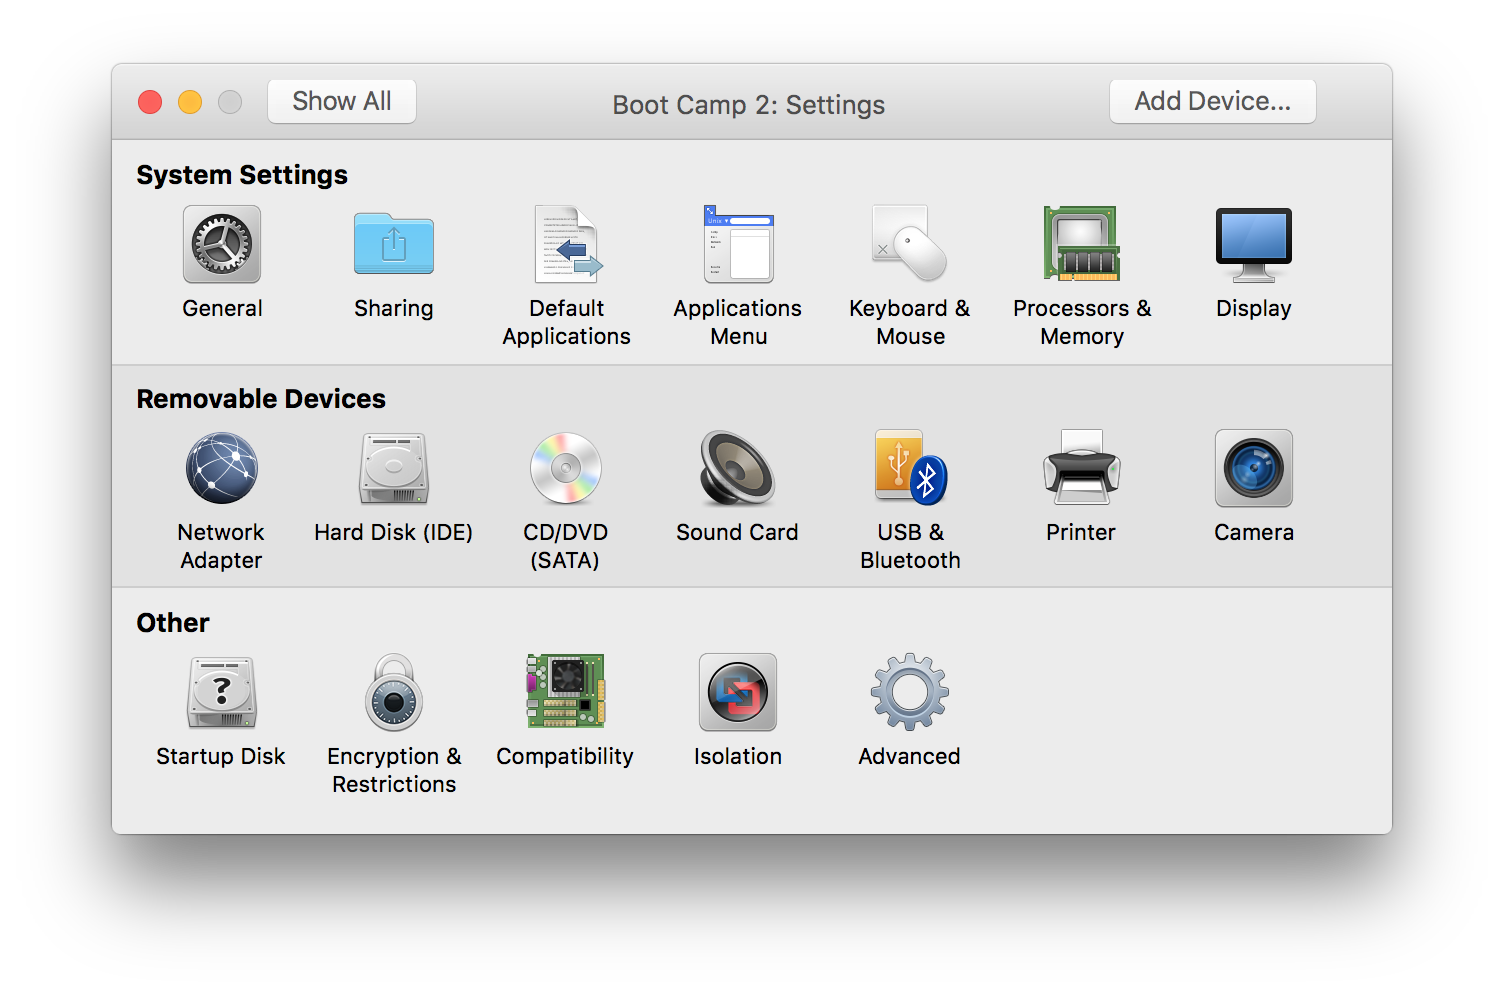
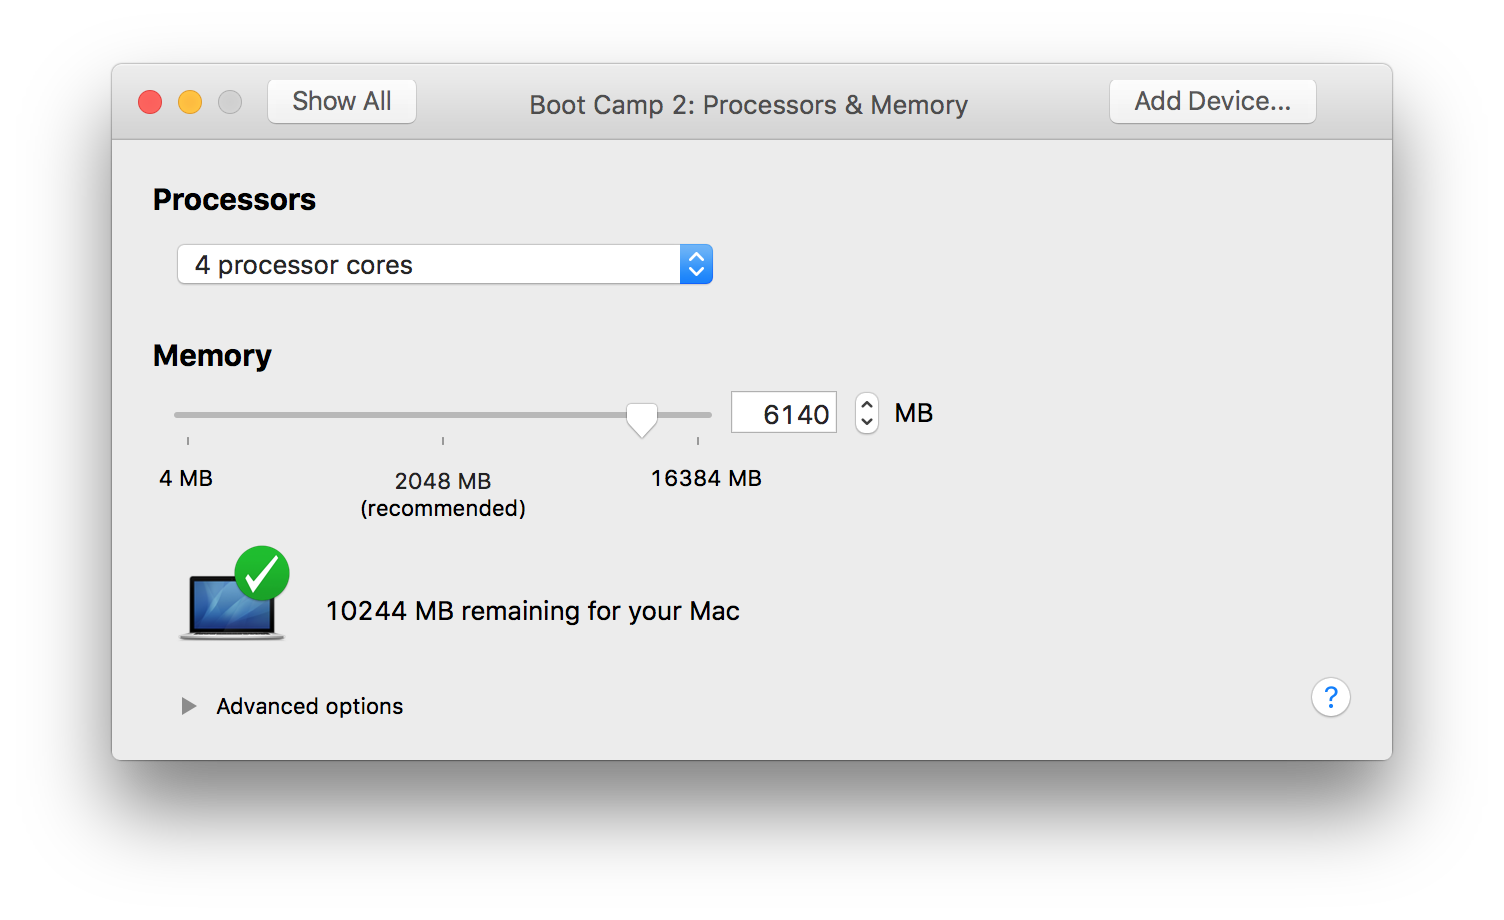
Choose the Processors & Memory setting and configure it, I opted for 4 processor cores and 6 GB Ram for the virtual machine and this has seemed fine.
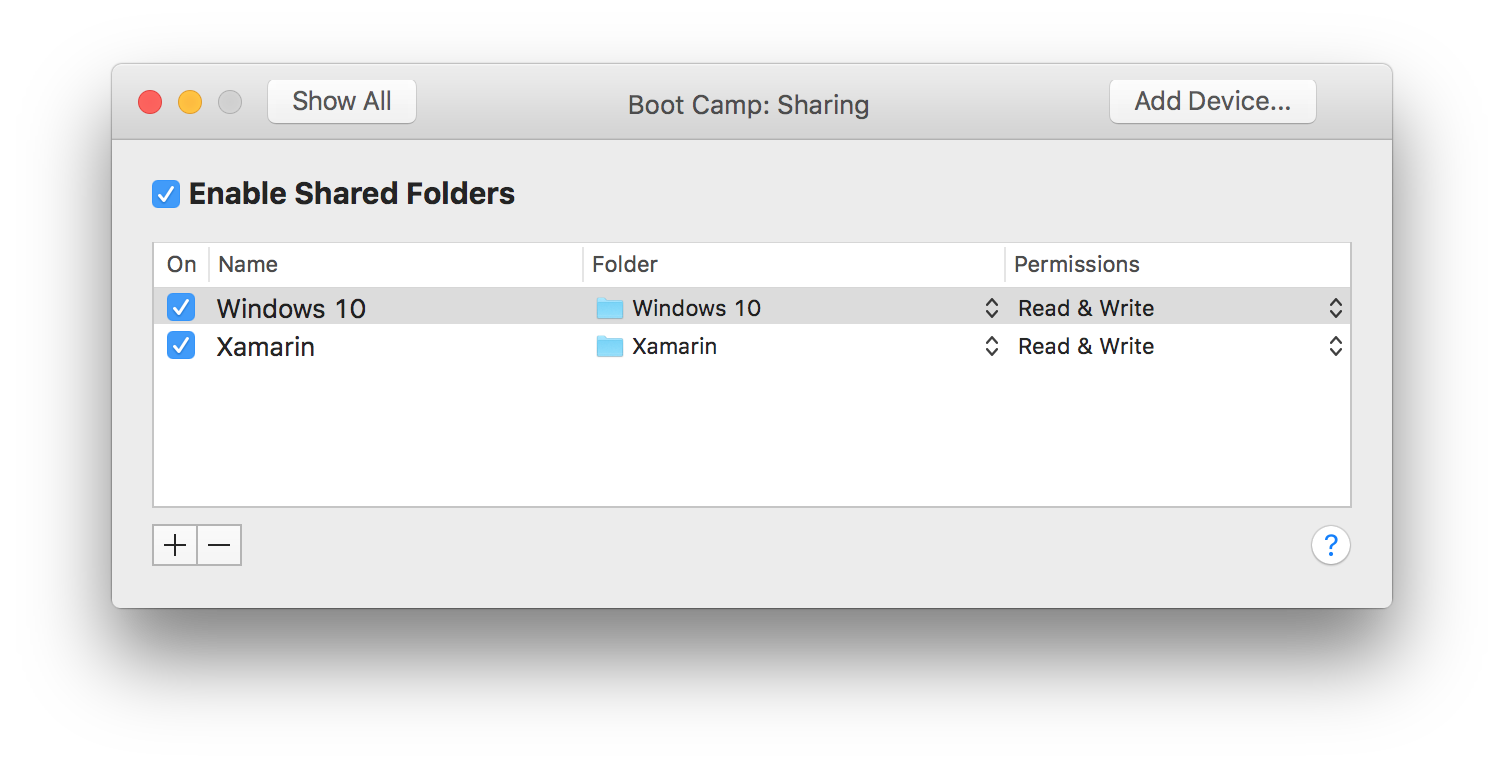
The other setting worth looking at is to enable the shared folders feature and setup some folders. This will allow the Windows virtual machine to read and write to folders on the OS X partition via a mapped drive in Windows.
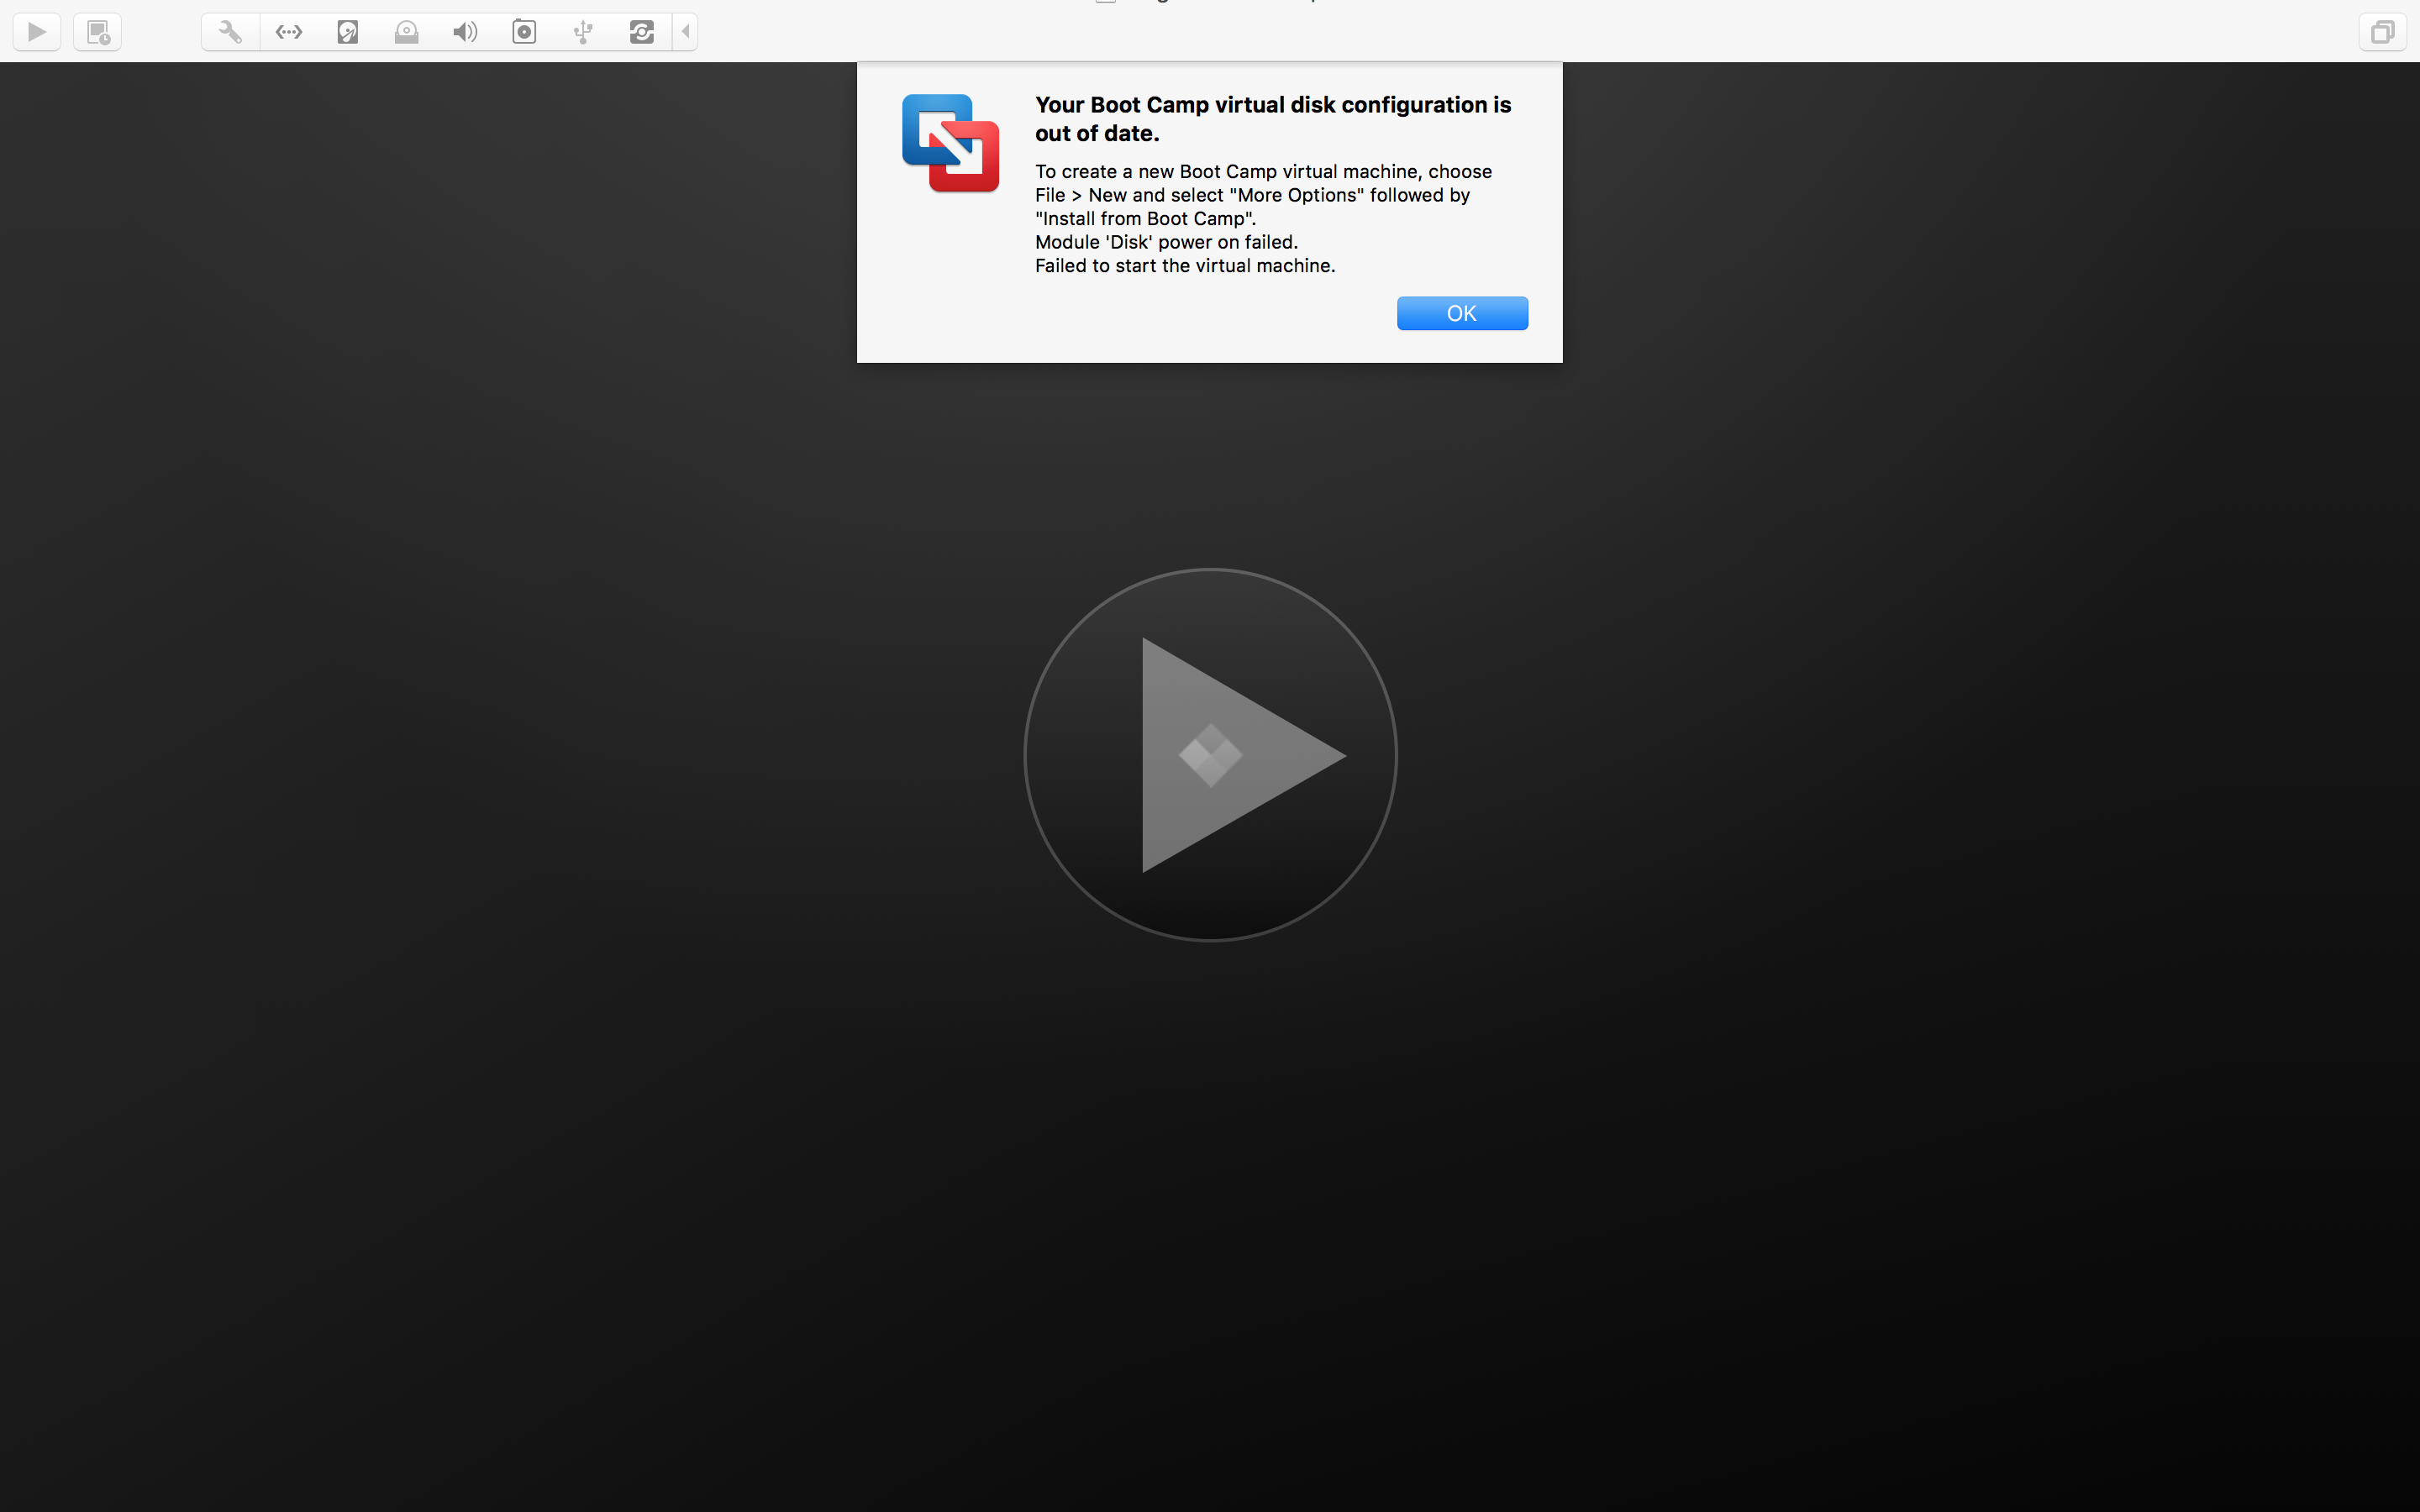
Virtual Disk Configuration Error
If you get the error message shown below, don't worry follow the instructions and delete your virtual machine and recreate it using the instructions above, it only takes a few minutes so isn't much of a problem. I had this error after updating Fusion.
I found the MVVMCross Setting up a Cross Platform Build Environment to be useful. Although a little out of date now it goes into detail regarding setting up emulators and so forth in additon to creating a Fusion virtual machine from a Windows 8.1 ISO.
Connecting to the Mac
Once Visual Studio and Xamarin have been installed we need to connect to the Mac in order to build iOS projects in Visual Studio. Prior to Xamarin 4 the Mac Build Host had to be running on the Mac. With Xamarin 4 there is some one time setup required but after that it's seamless, very nice. The setup is documented at Connecting to the Mac.
The End Goal
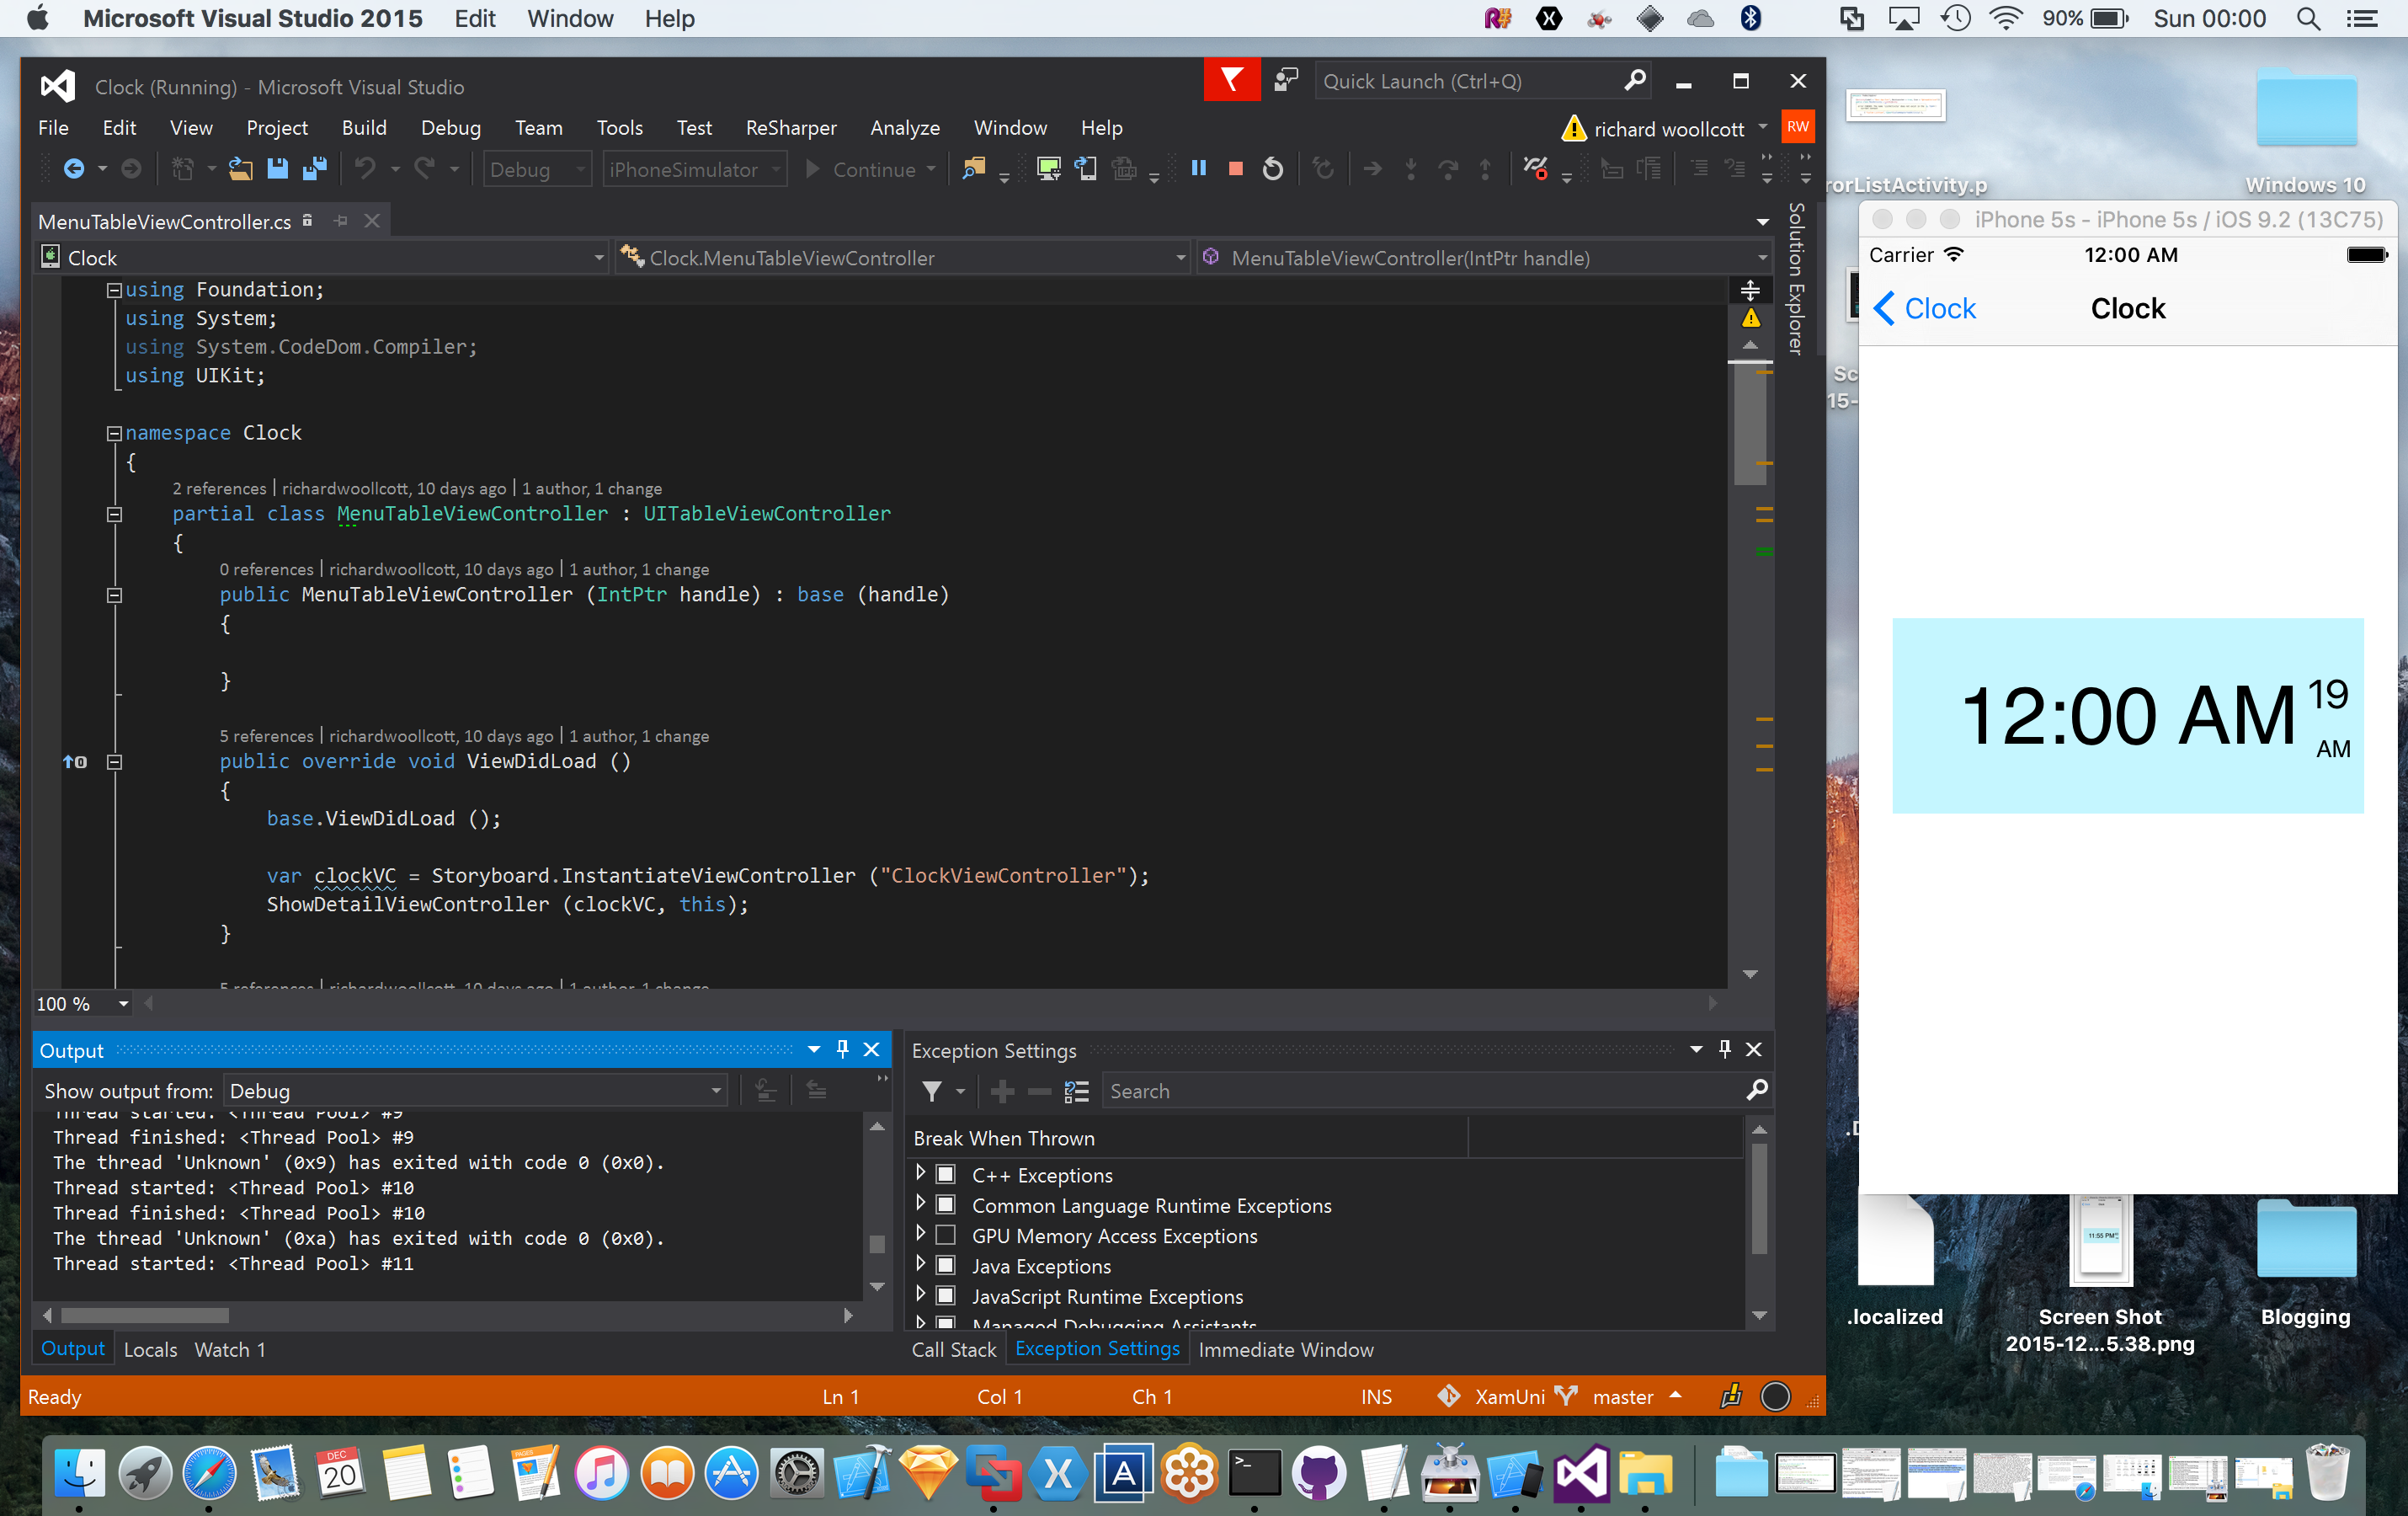
Now we can run Visual Studio under a virtual machine on the Mac and take advantage of it's features and plugins such as Resharper.
Fusion can run in different viewing modes, below Full Screen is shown. This is a good setup when debugging with a real iOS device but not so good if using a iOS Simulator.
Note that a two finger swipe downwards from the top of the screen will display the Fusion Menu. Also the Key Combo Alt + Command will enable switching between the virtual machine and the other apps running on OS X.

Below are examples of Visual Studio running in Unity mode which gives it a window of it's own as if it were running like any other OS X app. This also shows how Visual Studio and the iOS Simulator work well together and can be shown on the same screen.