Android BasicNavigation App implementation
This post details the Step by Step instructions to re-create the Android implementation of the BasicNavigation example. It should be read in conjunction with the post Getting Started with Xamarin & MVVM Light.
The application consists of two pages which demonstrate using the MVVM Light Navigation Service.
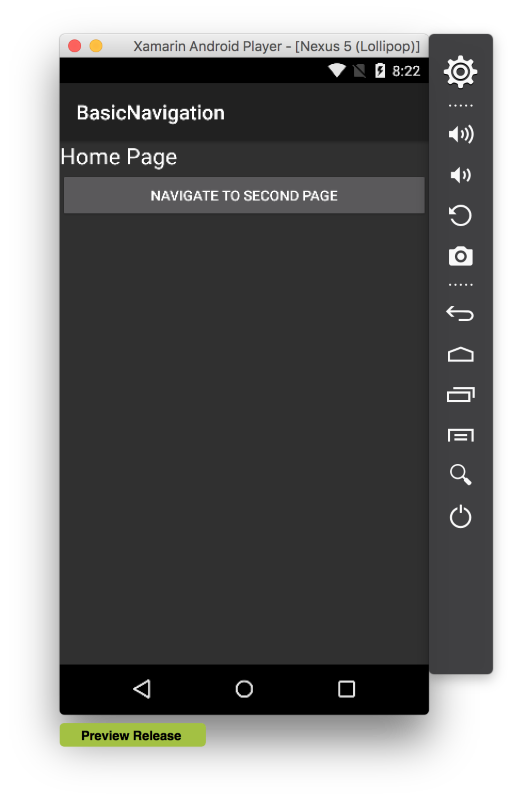
Main Page
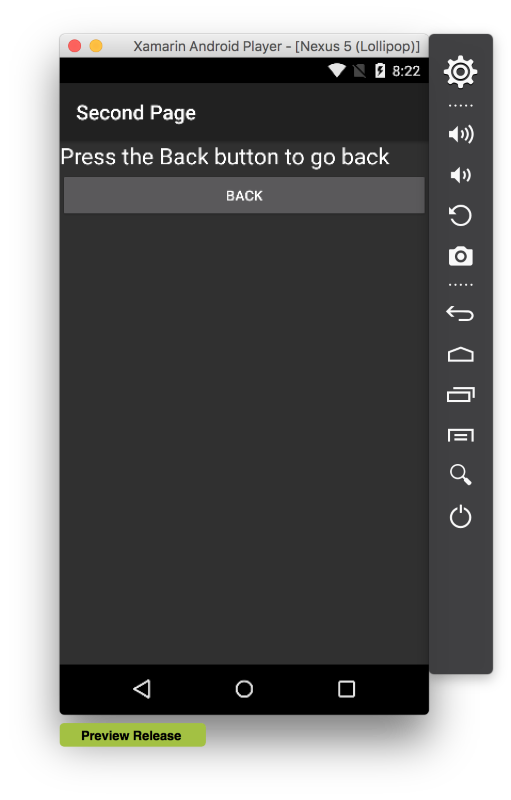
Second Page
Create a new class named App in the BasicNavigation.Droid project. This will perform the initialisation which was in the AppDelegate and the static ViewModelLocator property which was on the Application class in the iOS implementation. It will initialise the MVVM Light DispatcherHelper, create the NavigationService and register it with the SimpleIoc container and configure the navigation service. Note that the version of the NavigationService Configure method used is the one with string and Type parameters.
Full class listing:-
using GalaSoft.MvvmLight.Ioc;
using GalaSoft.MvvmLight.Threading;
using GalaSoft.MvvmLight.Views;

using BasicNavigation.ViewModel;

namespace BasicNavigation.Droid
{
  public static class App
  {
    private static ViewModelLocator locator;

    public static ViewModelLocator Locator
    {
      get
      {
        if (locator == null)
        {
          DispatcherHelper.Initialize();

          var nav = new NavigationService();

          SimpleIoc.Default.Register<INavigationService>(() => nav);

          nav.Configure(
            ViewModelLocator.SecondPageKey,
            typeof(SecondActivity));

          locator = new ViewModelLocator();
        }

        return locator;
      }
    }
  }
}
Open the MainActivity class and edit it to remove the existing button, associated event handler and count private member. The class should now be fairly empty as below:-
using Android.App;
using Android.Widget;
using Android.OS;

namespace BasicNavigation.Droid
{
  [Activity (Label = "BasicNavigation",
    MainLauncher = true, Icon = "@mipmap/icon")]
  public class MainActivity : Activity
  {
    protected override void OnCreate (Bundle savedInstanceState)
    {
      base.OnCreate (savedInstanceState);

      // Set our view from the "main" layout resource
      SetContentView (Resource.Layout.Main);
    }
  }
}
Add the using statements below:-
using System.Collections.Generic;

using BasicNavigation.ViewModel;

using GalaSoft.MvvmLight.Helpers;
using GalaSoft.MvvmLight.Views;
Change the MainActivity to derive from ActivityBase.
public class MainActivity : ActivityBase
Add the code below to create properties for the user interface elements, the Button and TextView. Also add the bindings for the WelcomeTitle and NavigateCommand on the MainViewModel to the TextView and Button on the MainActivity.
  private readonly List<Binding> bindings = new List<Binding>();

  private MainViewModel Vm
  {
    get
    {
      return App.Locator.Main;
    }
  }

  private TextView welcomeText;

  public TextView WelcomeText
  {
    get
    {
      return welcomeText ??
        (welcomeText = FindViewById<TextView>(
          Resource.Id.welcomeText));
    }
  }

  private Button navigateButton;

  public Button NavigateButton
  {
    get
    {
      return navigateButton ??
       (navigateButton = FindViewById<Button>(
        Resource.Id.navigateButton));
    }
  }
Edit the OnCreate method to add the bindings to the TextView and Button to the ViewModel properties:-
protected override void OnCreate (Bundle savedInstanceState)
{
  base.OnCreate (savedInstanceState);

  // Set our view from the "main" layout resource
  SetContentView (Resource.Layout.Main);

  bindings.Add(this.SetBinding(
    () => Vm.WelcomeTitle,
    () => WelcomeText.Text));

  NavigateButton.SetCommand(
    "Click",
    Vm.NavigateCommand);
}
Full class listing:-
using Android.App;
using Android.Widget;
using Android.OS;
using System.Collections.Generic;

using BasicNavigation.ViewModel;

using GalaSoft.MvvmLight.Helpers;
using GalaSoft.MvvmLight.Views;

namespace BasicNavigation.Droid
{
  [Activity (Label = "BasicNavigation",
    MainLauncher = true, Icon = "@mipmap/icon")]
  public class MainActivity : ActivityBase
  {
    private readonly List<Binding> bindings = new List<Binding>();

    private MainViewModel Vm
    {
      get
      {
        return App.Locator.Main;
      }
    }

    private TextView welcomeText;

    public TextView WelcomeText
    {
      get
      {
        return welcomeText ??
          (welcomeText = FindViewById<TextView>(
            Resource.Id.welcomeText));
      }
    }

    private Button navigateButton;

    public Button NavigateButton
    {
      get
      {
        return navigateButton ??
          (navigateButton = FindViewById<Button>(
           Resource.Id.navigateButton));
      }
    }

    protected override void OnCreate (Bundle savedInstanceState)
    {
      base.OnCreate (savedInstanceState);

      // Set our view from the "main" layout resource
      SetContentView (Resource.Layout.Main);

      bindings.Add(this.SetBinding(
        () => Vm.WelcomeTitle,
        () => WelcomeText.Text));

      NavigateButton.SetCommand(
        "Click",
        Vm.NavigateCommand);
    }
  }
}
Create a new class named SecondActivity which will be used to back the Second Page view and call the NavigationService.GoBack() method when the Back button is pressed. Note that the SecondActivity is derived from ActivityBase.
Full class listing:-
using Android.App;
using Android.OS;
using Android.Widget;

using GalaSoft.MvvmLight.Views;
using Microsoft.Practices.ServiceLocation;

namespace BasicNavigation.Droid
{
  [Activity (Label = "Second Page")]
  public class SecondActivity : ActivityBase
  {
    private Button backButton;

    public Button BackButton
    {
      get
      {
        return backButton ??
          (backButton = FindViewById<Button>(
            Resource.Id.backButton));
      }
    }

    protected override void OnCreate (Bundle savedInstanceState)
    {
      base.OnCreate (savedInstanceState);

      // Set our view from the "Second" layout resource
      SetContentView(Resource.Layout.Second);

      var nav = (NavigationService)ServiceLocator.
                  Current.GetInstance<INavigationService>();
      BackButton.Click += (s, e) => nav.GoBack();
    }
  }
}
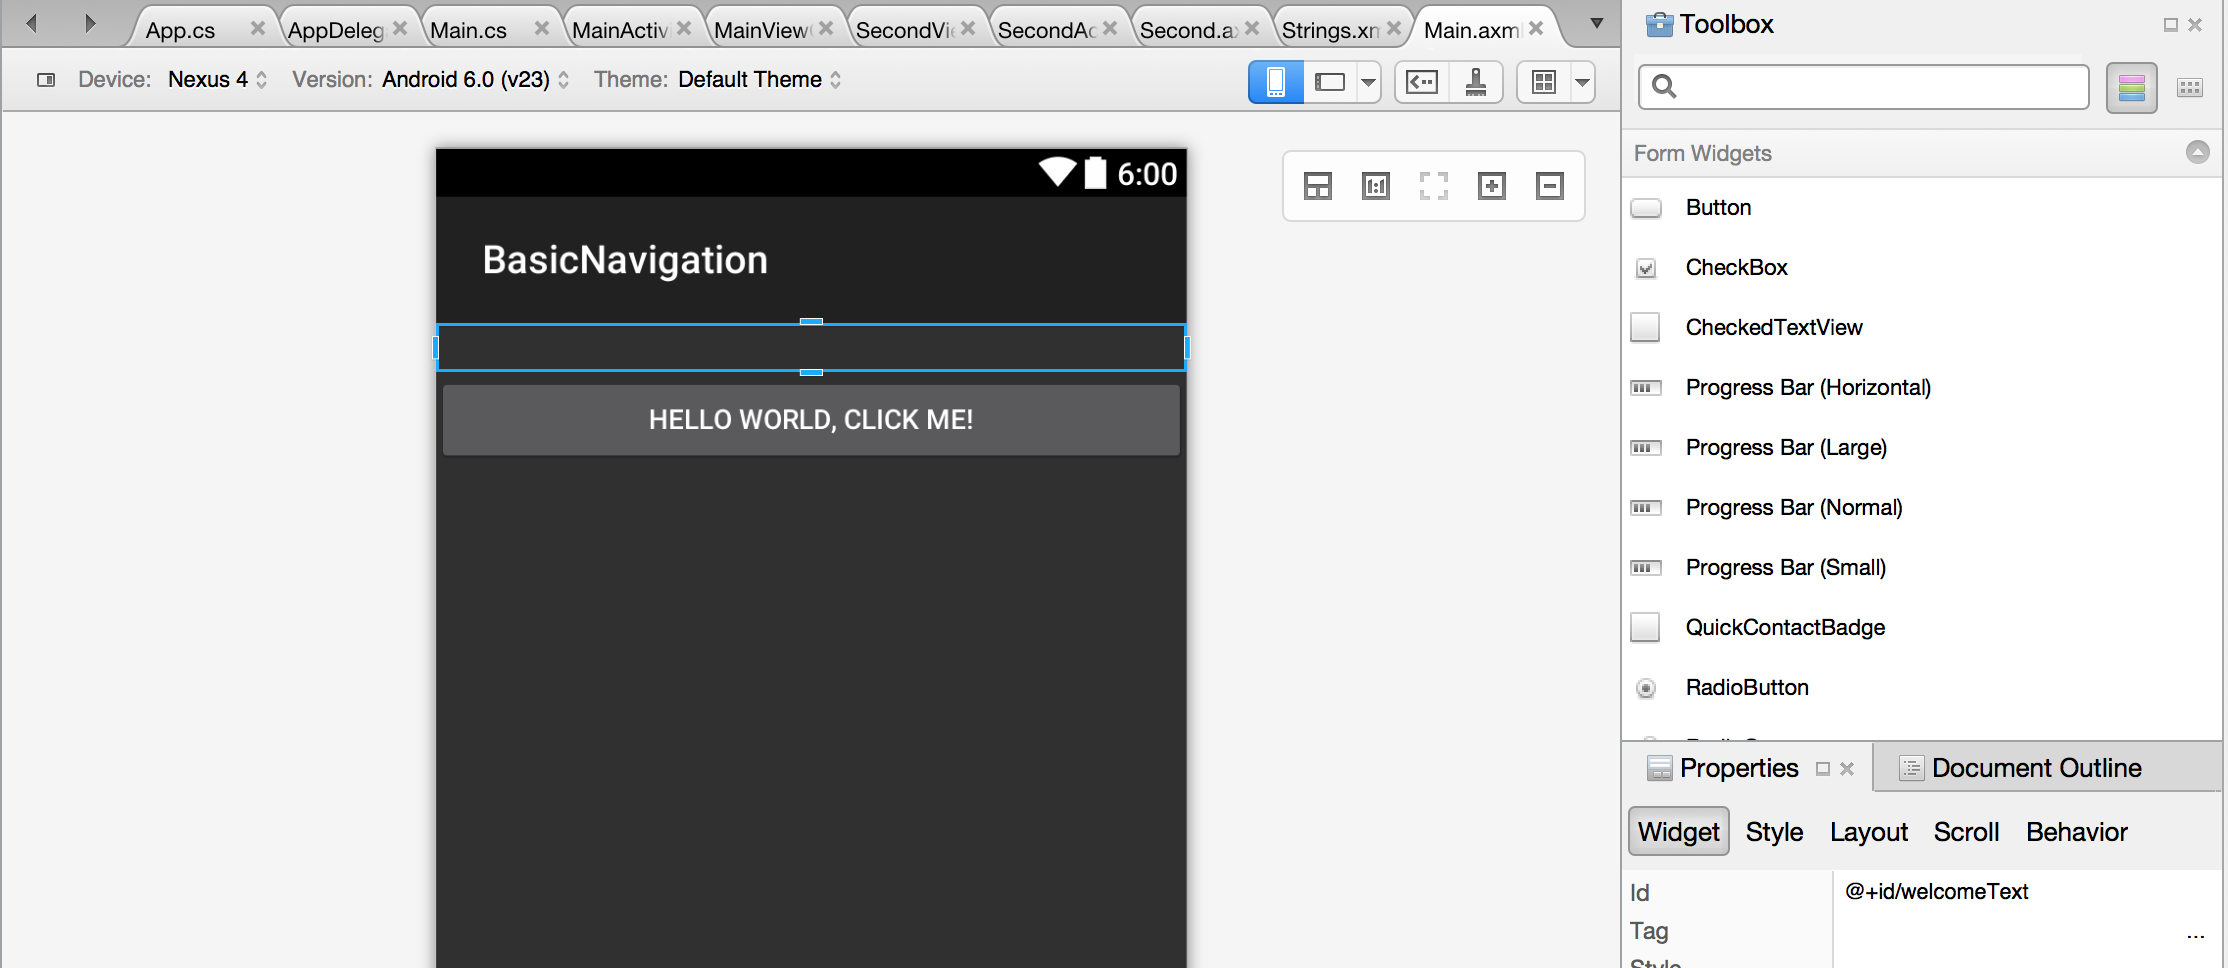
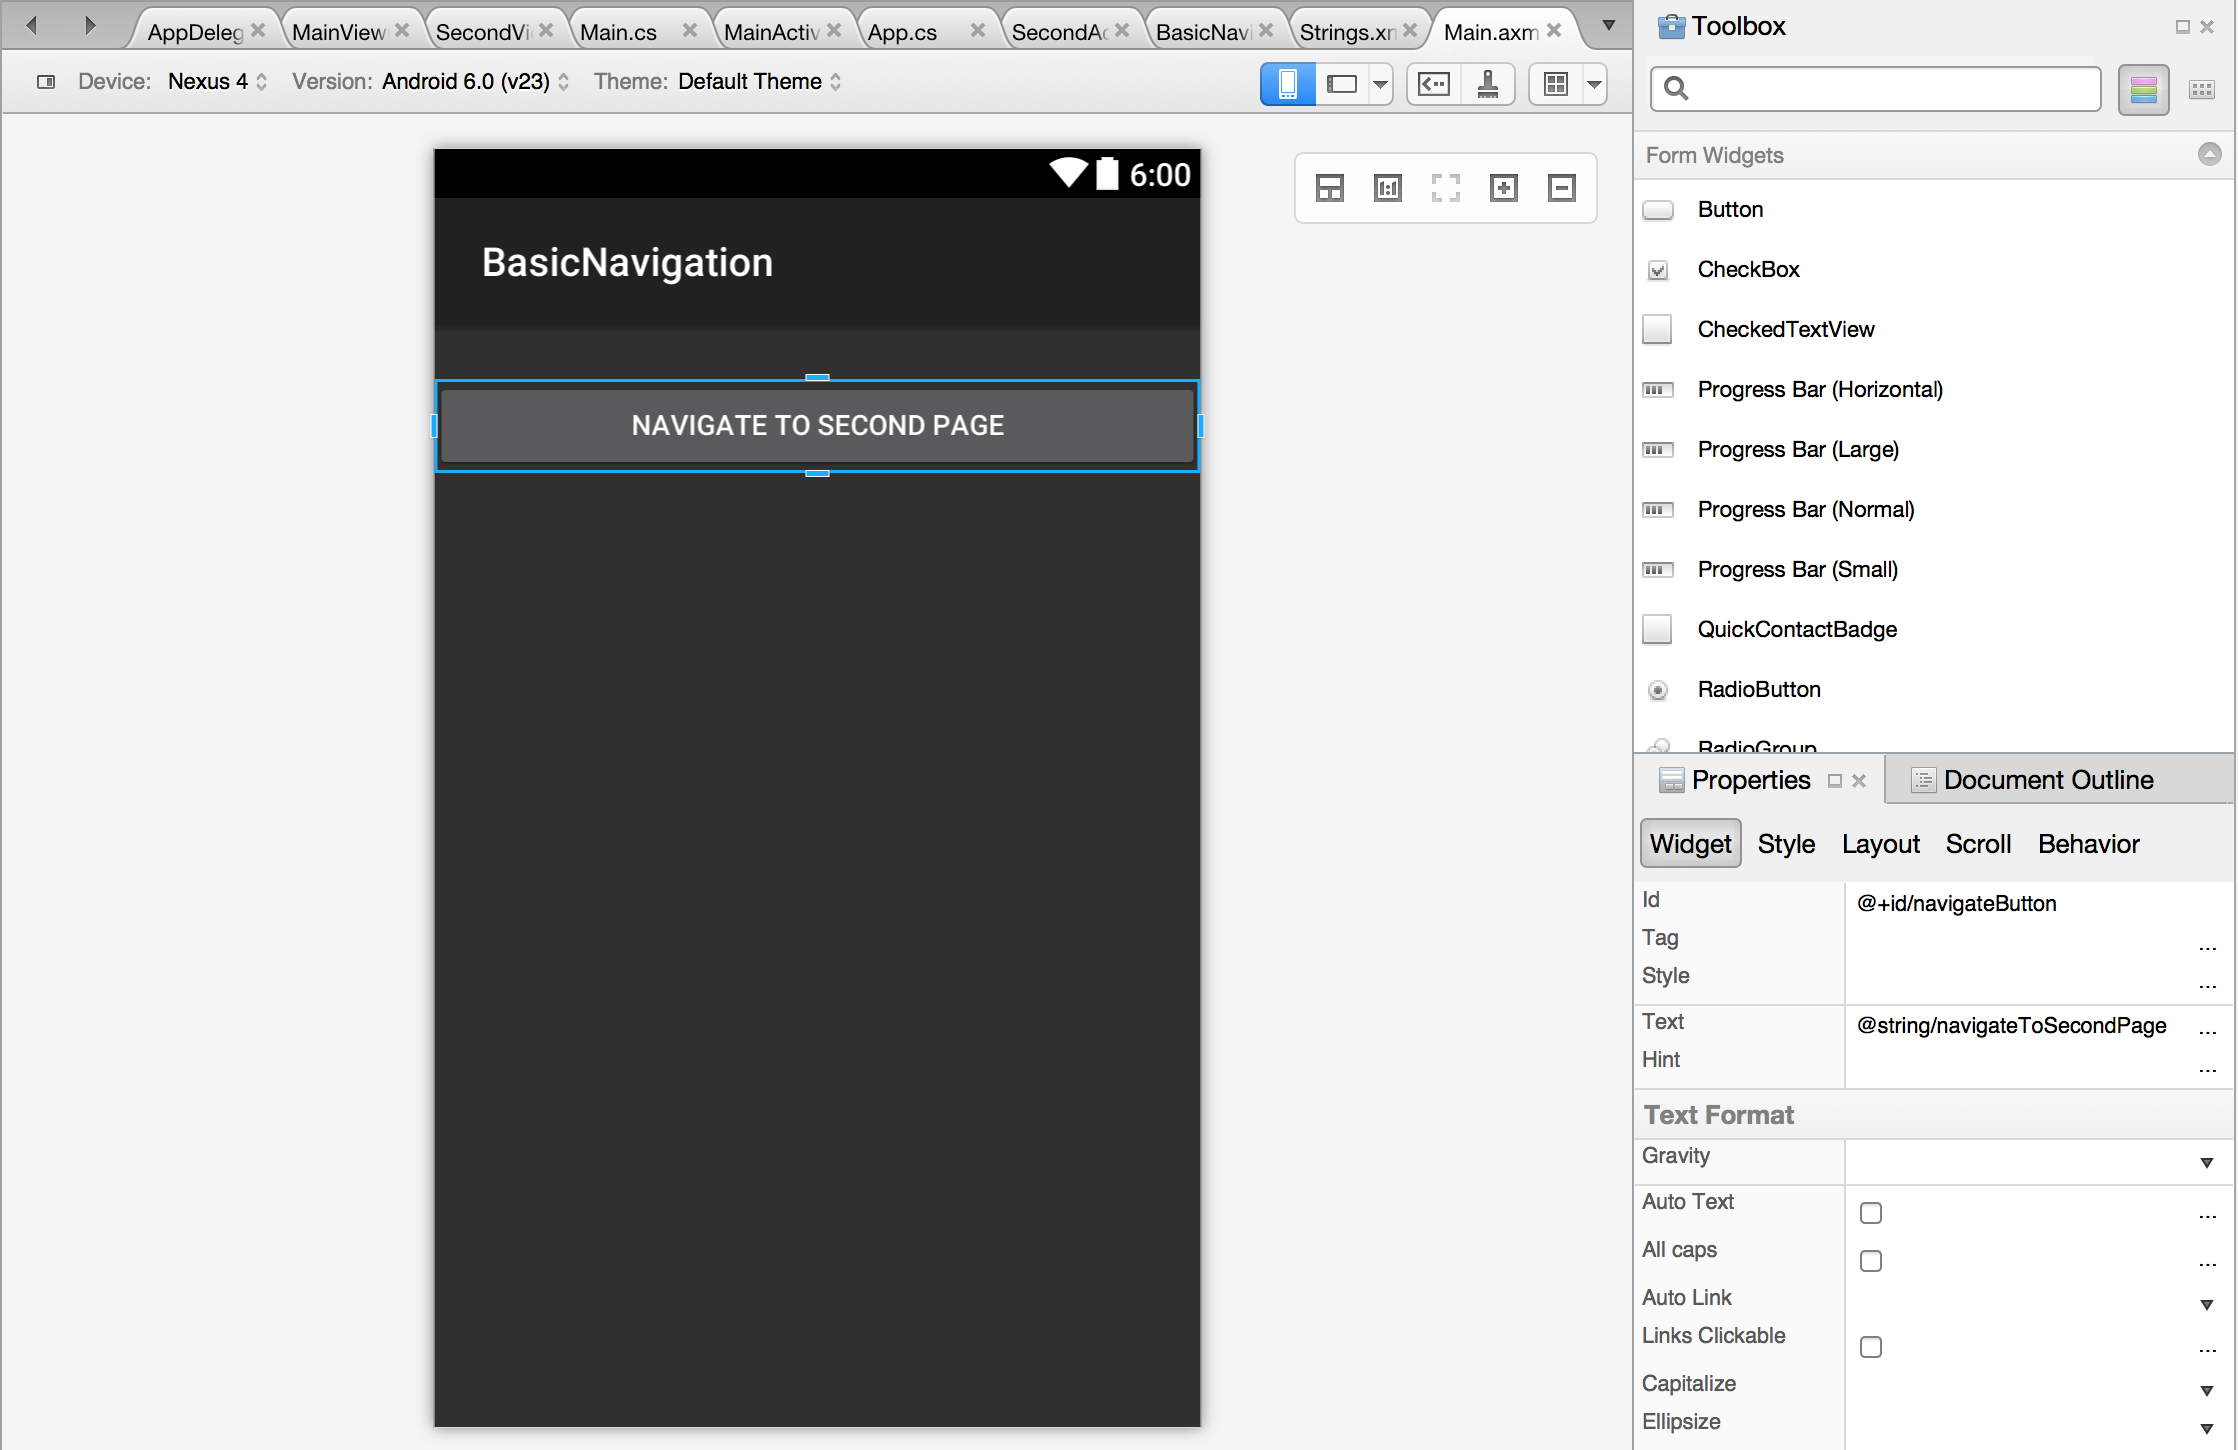
Double click on the Main.axml file in the Resources/layout folder to open the main page in the designer.
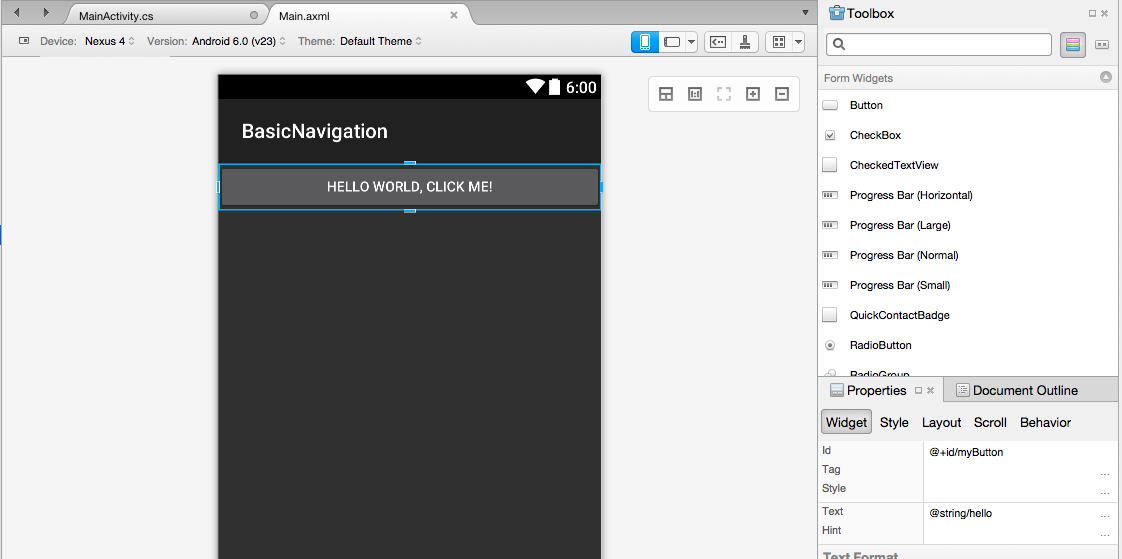
Drag a Text control from the Toolbox above the button. Use the Properties Pad to change the ID from ‘@+id/textView1’ to ‘@+id/WelcomeText’ and set the Text to an empty string.
Click on the Button (intially titled 'HELLO WORLD, CLICK ME!'). In the Properties Pad change the Id from @+id/myButton to @+id/navigateButton and the Text from ‘@string/hello’ to ‘@string/navigateToSecondPage’.
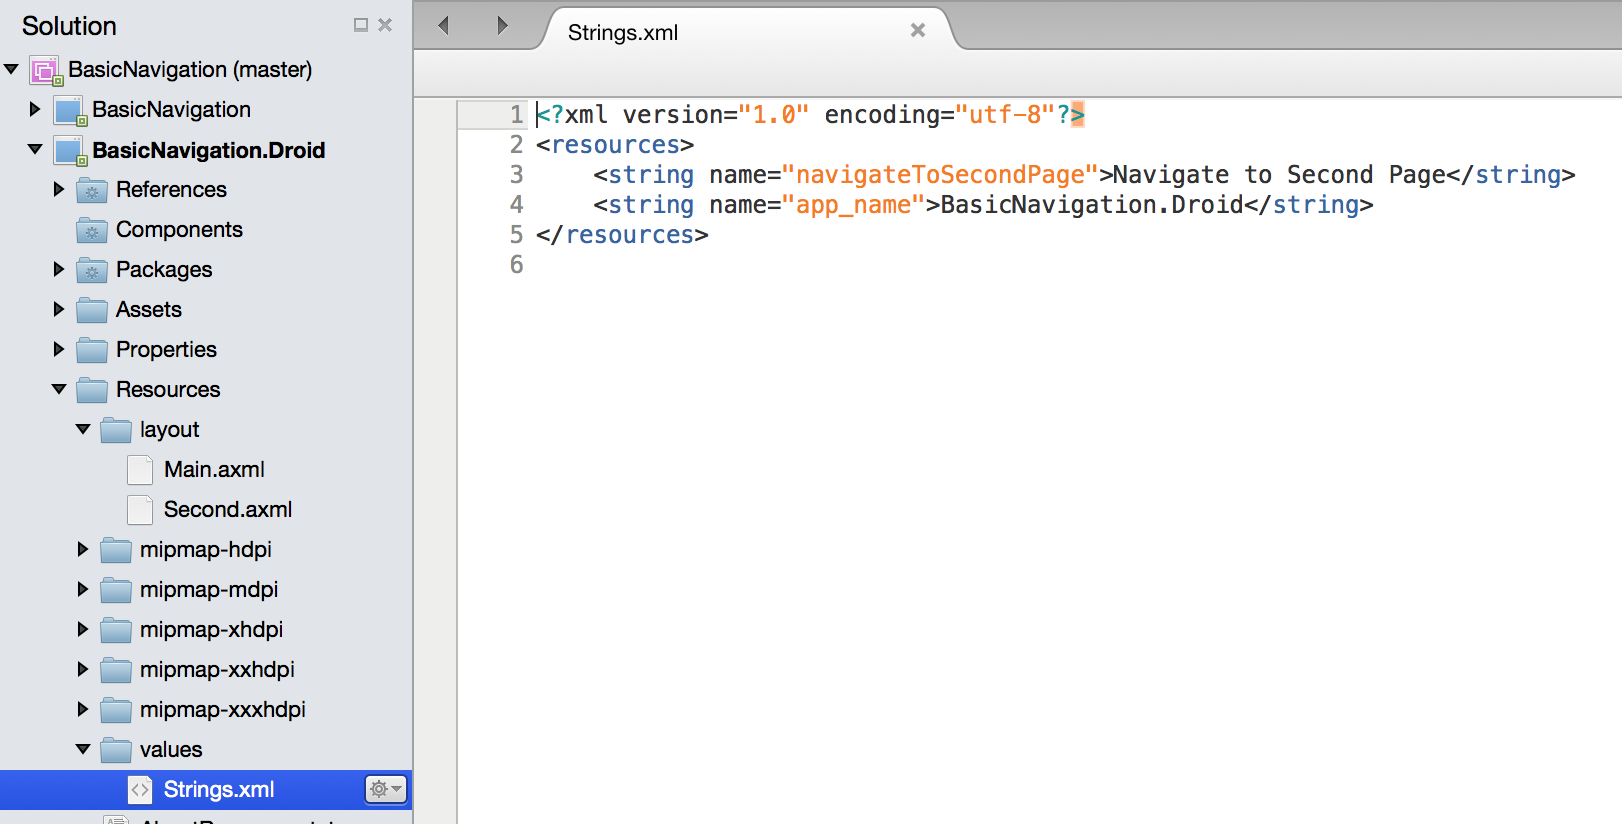
Open the Strings.xml in the Resources\Values folder and edit the entry ‘
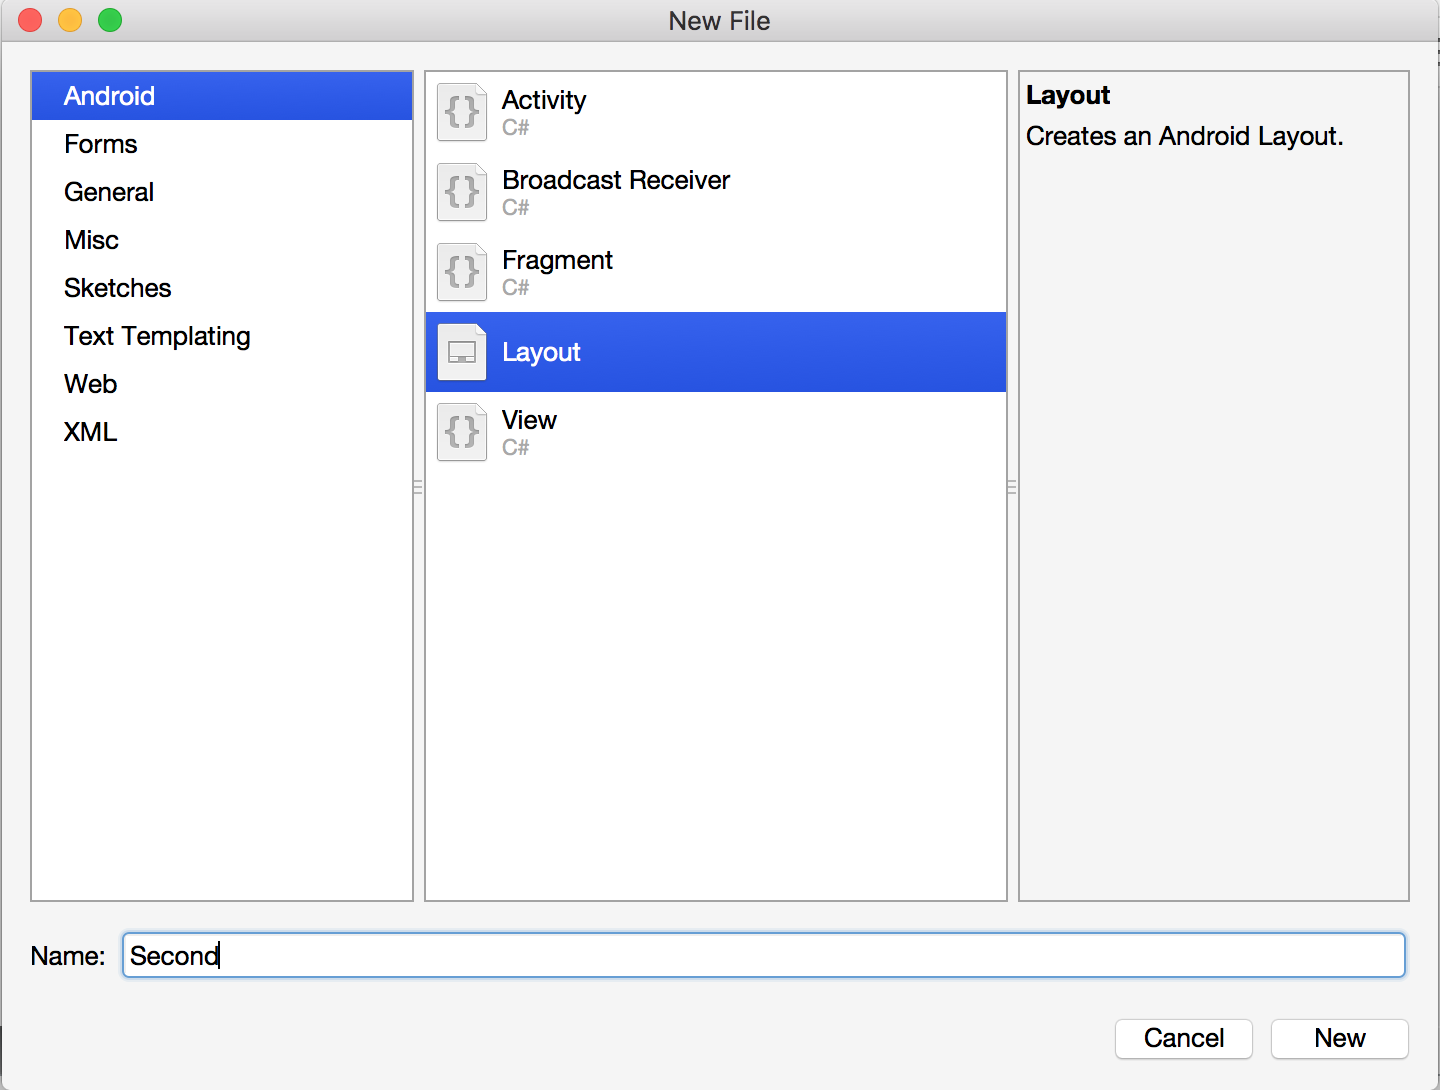
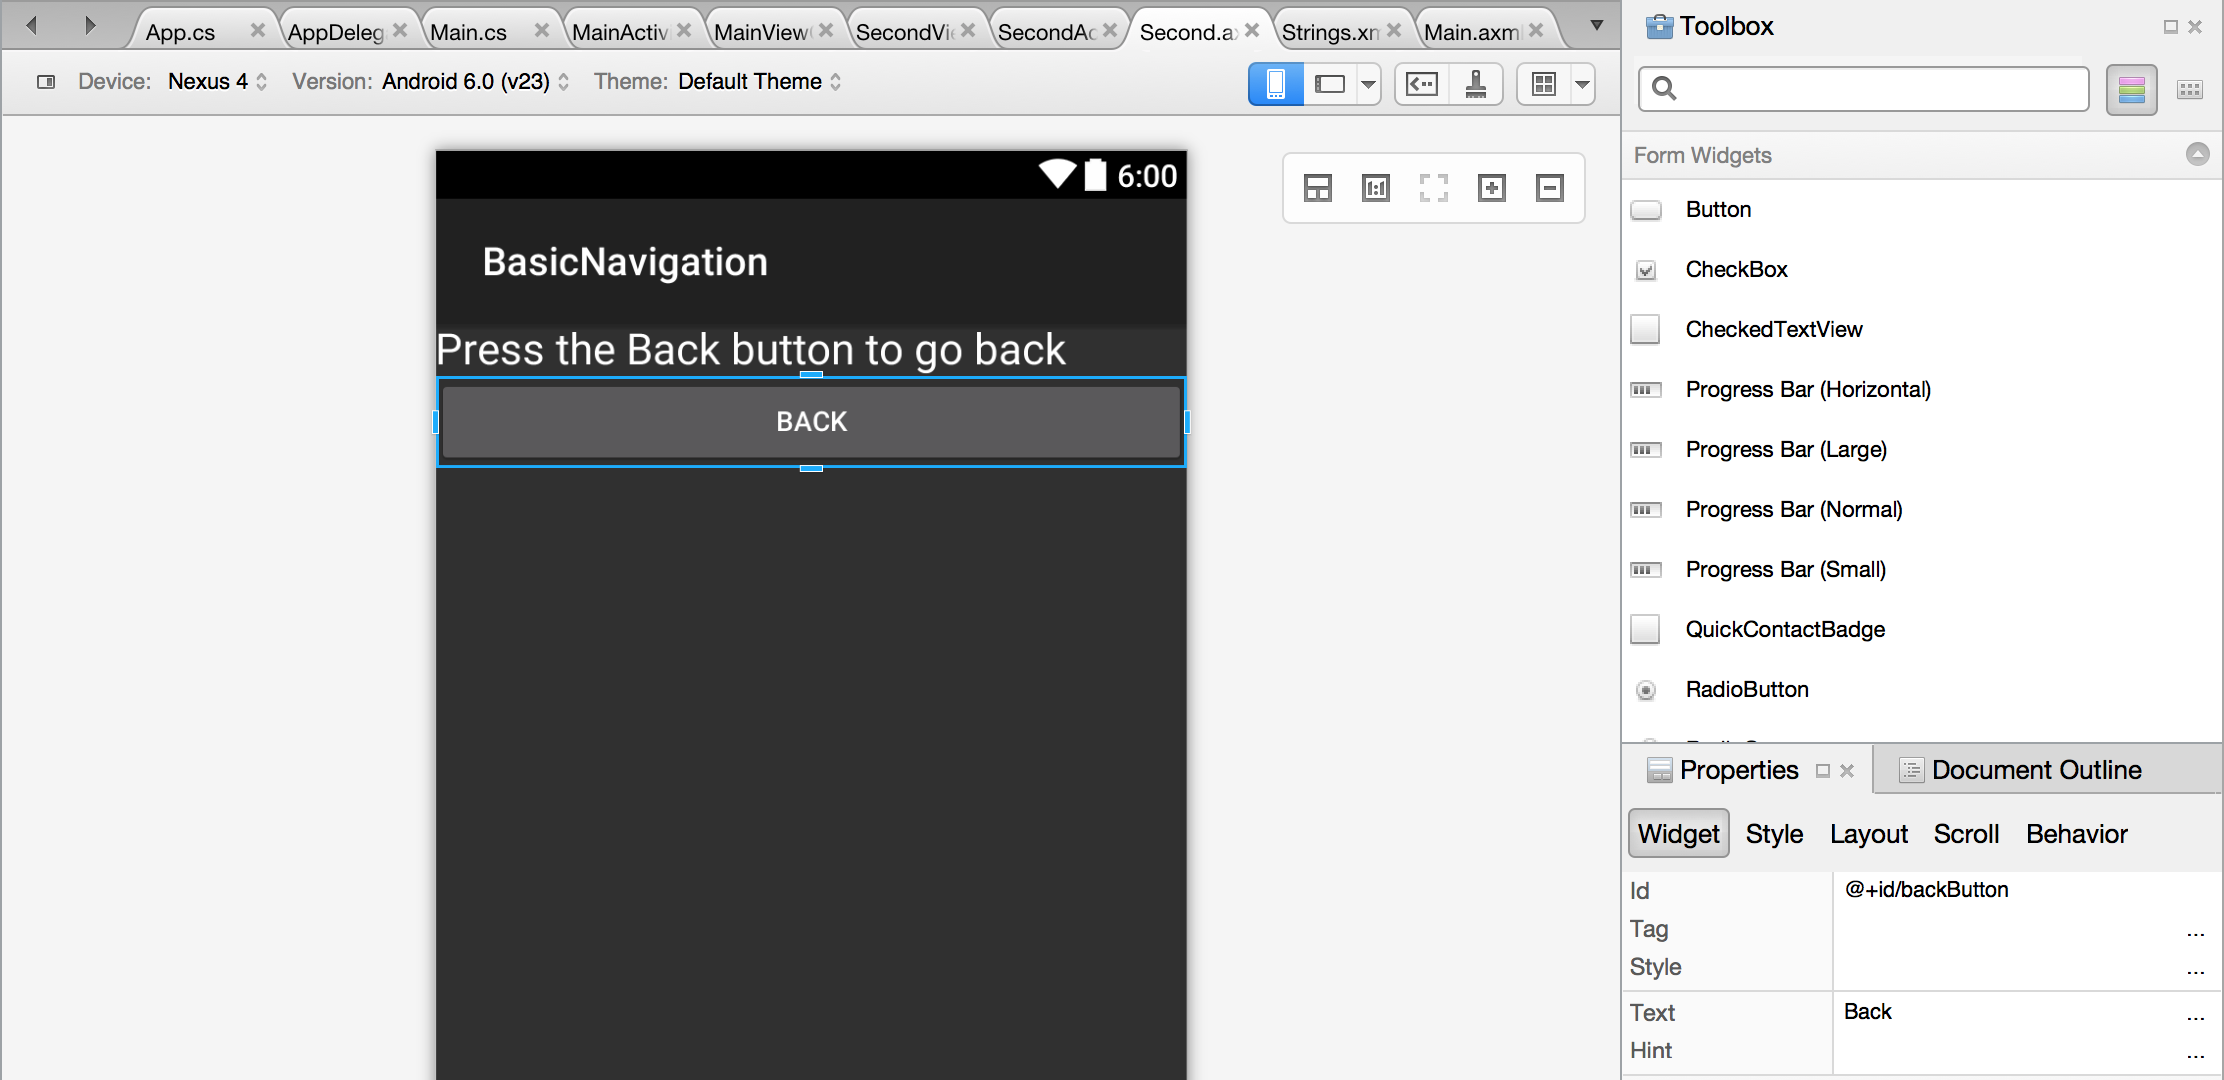
Right click on the layout folder and select New File. Choose Android->Layout and name it Second. Double click on the newly create Second.axml file to open it in the designer.
Drag a Text control from the Toolbox and use the Properties Pad to set the Text to ‘Press the Back button to go back’.
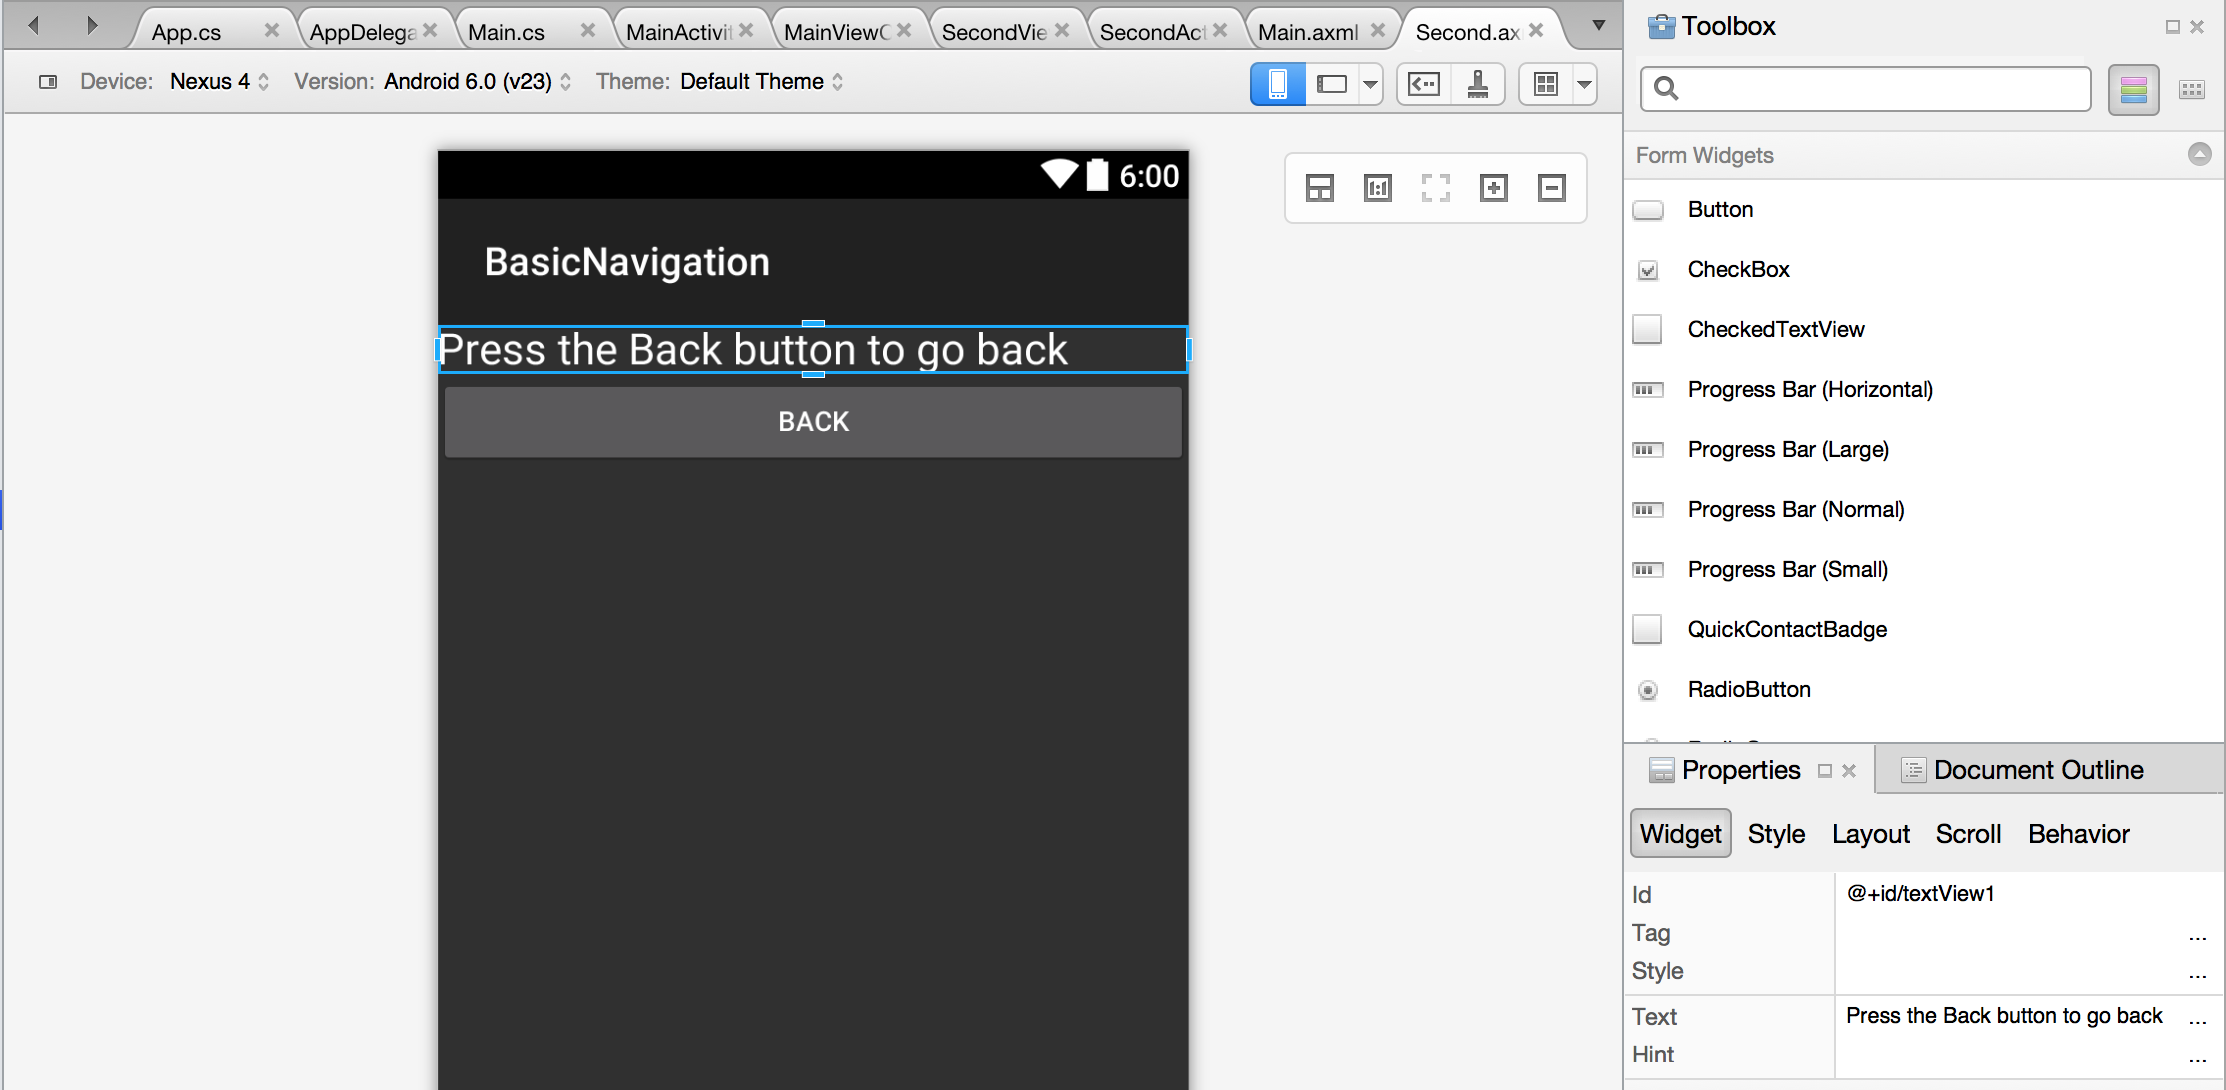
Next Drag a Button control from the Toolbox and use the Properties Tab to set the Id to @+id/backButton and the Text to ‘Back’. In a real world application we would add strings resources rather than directly set the Text but this keeps things simpler.
The implementation should now be complete. Run the application and use the buttons to navigate between the pages.
The complete code for both iOS and Android implementations of the BasicNavigation app can be found on GitHub.