iOS BasicNavigation App implementation
This post details the Step by Step instructions to re-create the iOS implementation of the BasicNavigation example. It should be read in conjunction with the post Getting Started with Xamarin & MVVM Light.
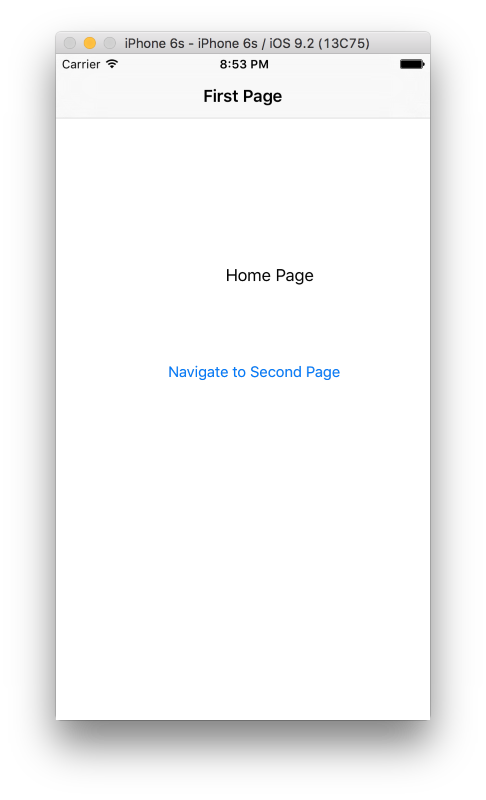
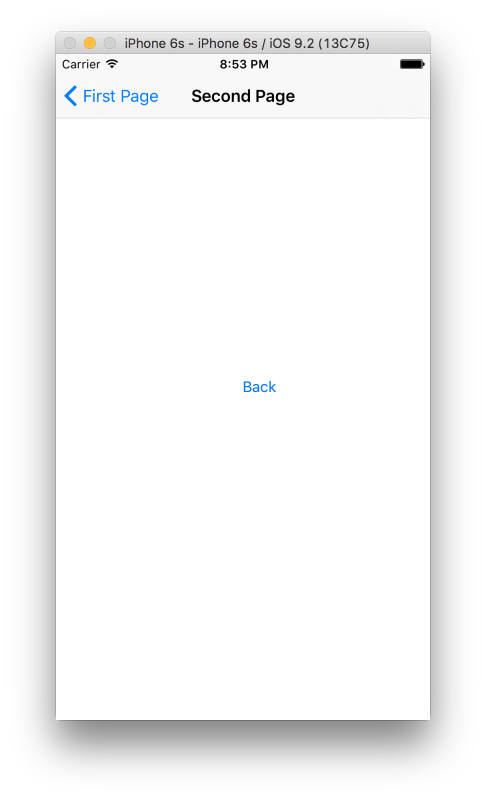
The application consists of two pages which demonstrate using the MVVM Light Navigation Service.
Main Page
Second Page
Note when using iOS Storyboard’s the ViewController’s should derive from ControllerBase which itself derives from UIViewController.
Open the AppDelegate class and add these using statements:-
using GalaSoft.MvvmLight.Ioc;

using GalaSoft.MvvmLight.Threading;
using GalaSoft.MvvmLight.Views;


using BasicNavigation.ViewModel;
Next edit the FinishedLaunching method to initialise the MVVM Light DispatcherHelper, create the NavigationService and register it with the SimpleIoc container and configure the navigation service.
Note that the configure method of the Navigation Service is overloaded, for iOS storyboards the version with two strings should be used, the second parameter is the StoryboardId. When using iOS XIB’s (and Android) the overload of the Configure method with string and Type parameters should be used.:-
public override bool FinishedLaunching (UIApplication application,
NSDictionary launchOptions)
{
  // Override point for customization after application launch.
  // If not required for your application you can safely delete
  // this method

  // MVVM Light's DispatcherHelper for cross-thread handling.
  DispatcherHelper.Initialize(application);

  // Configure and register the MVVM Light NavigationService
  var nav = new NavigationService();
  SimpleIoc.Default.Register<INavigationService>(() => nav);

  nav.Initialize((UINavigationController)Window.RootViewController);
  nav.Configure(ViewModelLocator.SecondPageKey, "SecondPage");

  return true;
}
Open the Main class and add the using statement:-
using BasicNavigation.ViewModel;
Next add the static ViewModelLocator property:-
public static ViewModelLocator Locator
{
  get
  {
    return locator ?? (locator = new ViewModelLocator());
  }
}
The full class listing is:-
using UIKit;

using BasicNavigation.ViewModel;

namespace BasicNavigation.iOS
{
  public class Application
  {
    private static ViewModelLocator locator;

    // This is the main entry point of the application.
    static void Main (string[] args)
    {
      // if you want to use a different Application Delegate class
      // from "AppDelegate"
      // you can specify it here.
      UIApplication.Main (args, null, "AppDelegate");
    }

    public static ViewModelLocator Locator
    {
      get
      {
        return locator ?? (locator = new ViewModelLocator());
      }
    }
  }
}
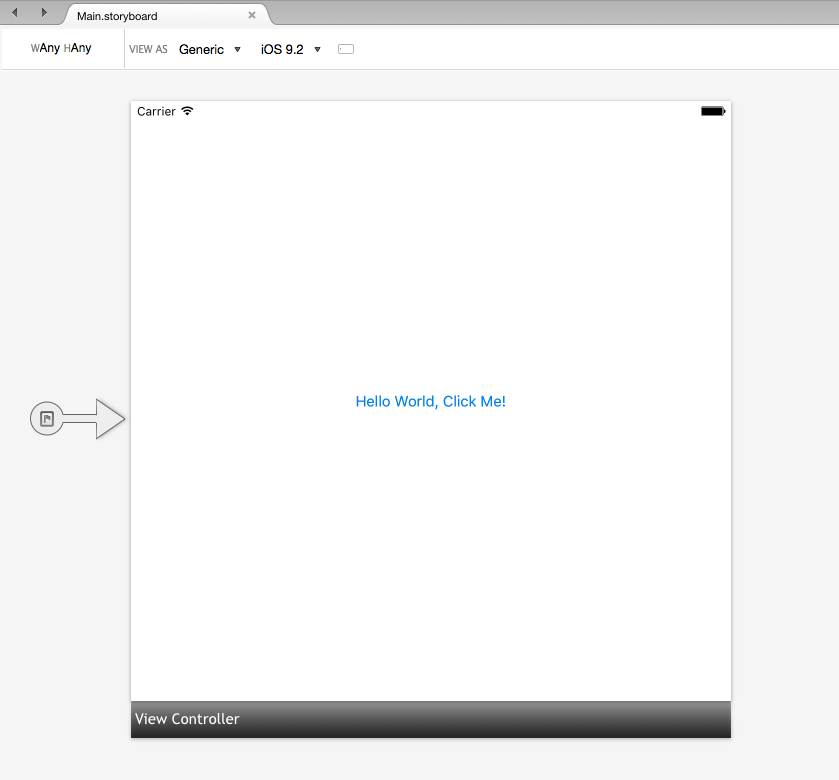
The Single View App project template creates a ViewController as shown in the Main.Storyboard in the designer below.
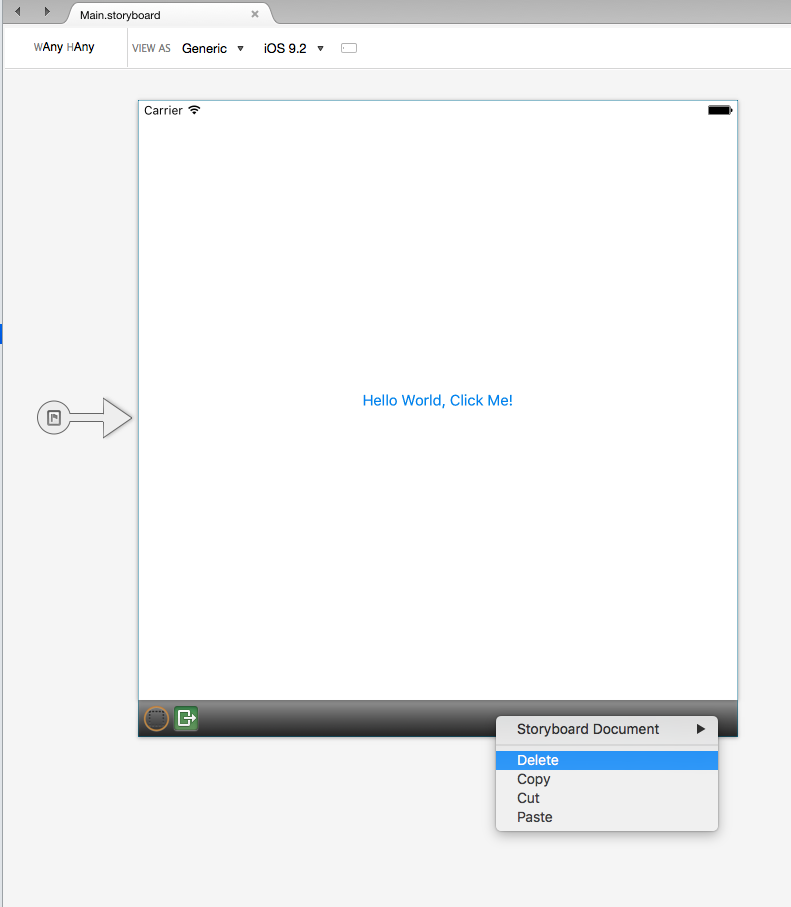
Right click the Black Bar labelled View Controller and choose the Delete option.
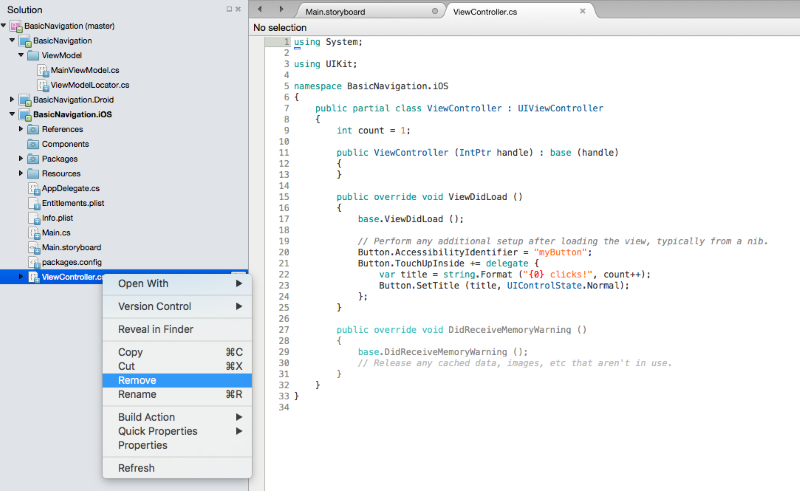
Next Right click the ViewController.cs class which was also created by the Single App project template. Select the Remove option.
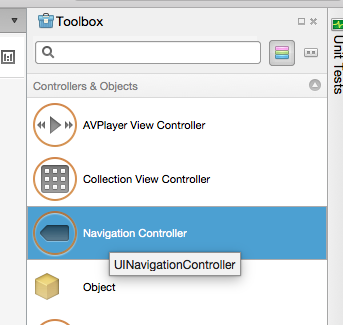
Now return to the Main.storyboard open in the designer. Select the Navigation Controller in the Toolbox.
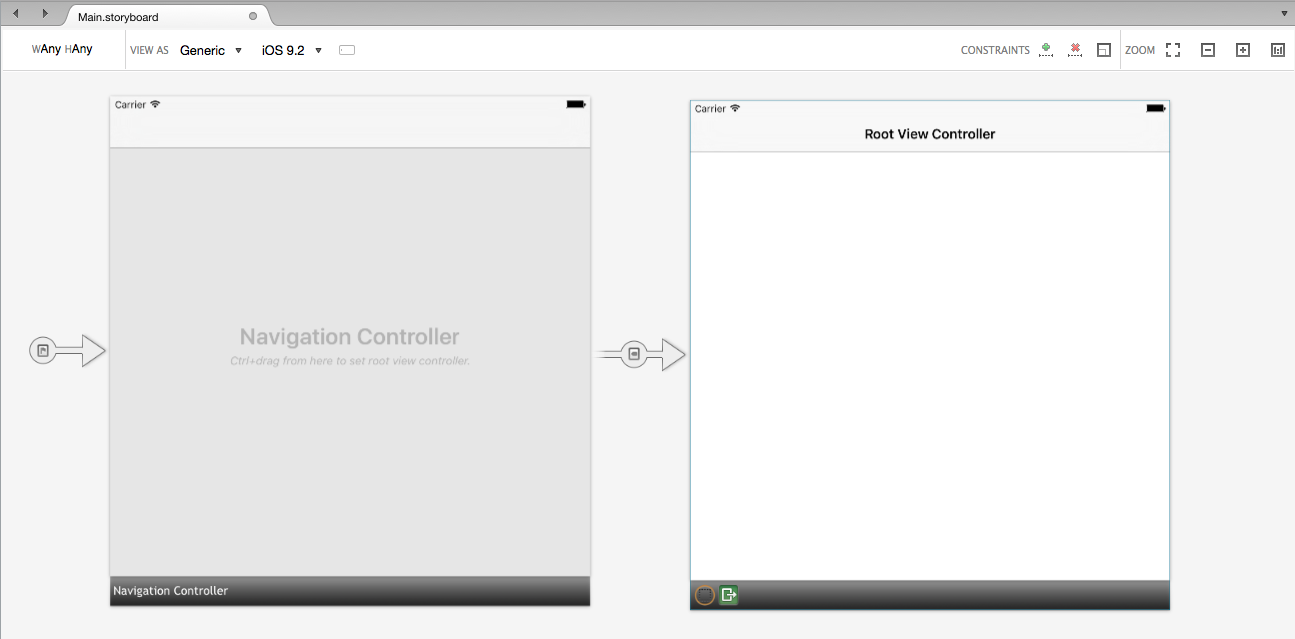
Now drag it onto the design surface. This will create a Navigation Controller and a Root View Controller.
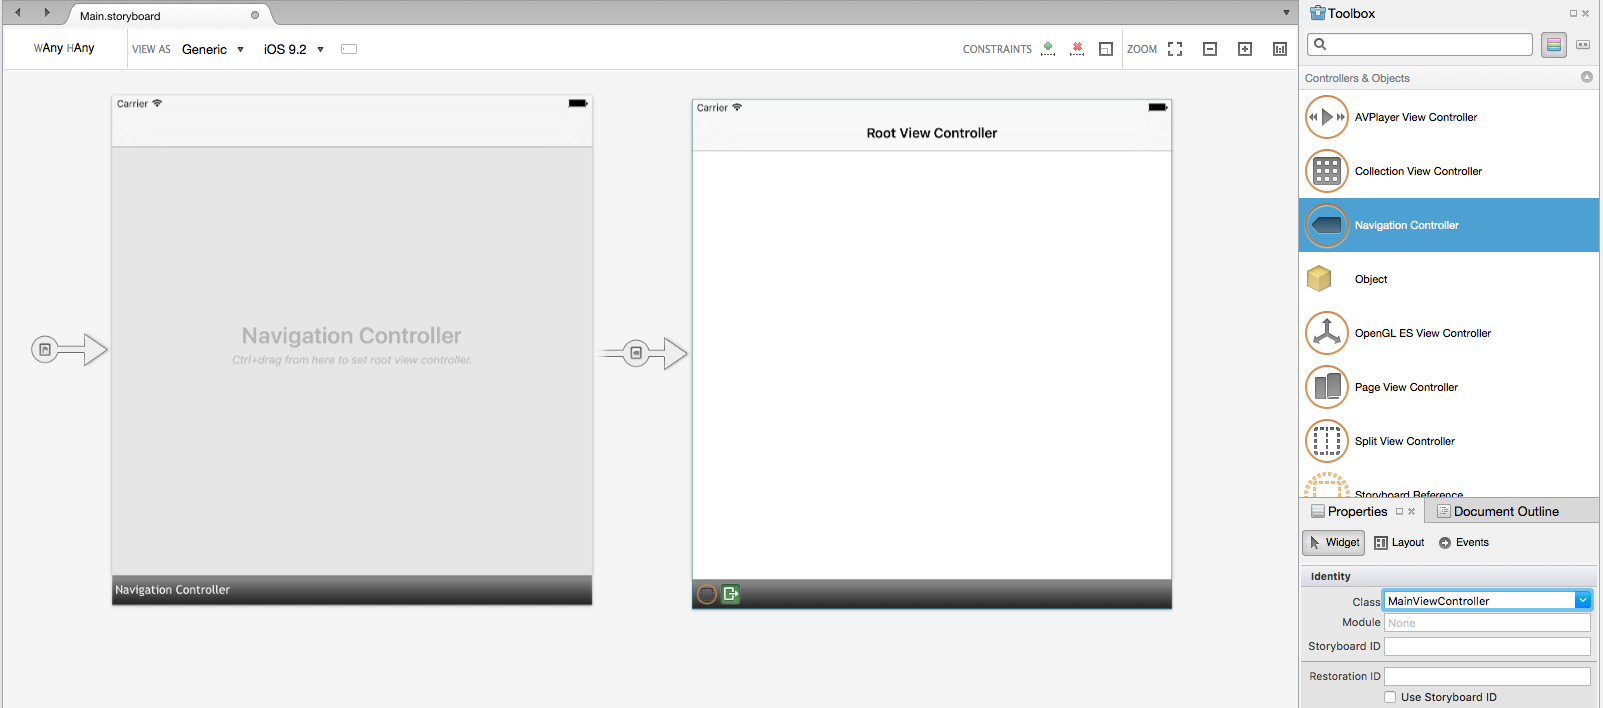
Click the black bar at the bottom of the Root View Controller and set the Class property to MainViewController. when Return is pressed the class will be created.
Click on the top of this MainViewController on the text ‘Root View Controller’ and change the Title property from ‘Root View Controller’ to ‘First Page’.
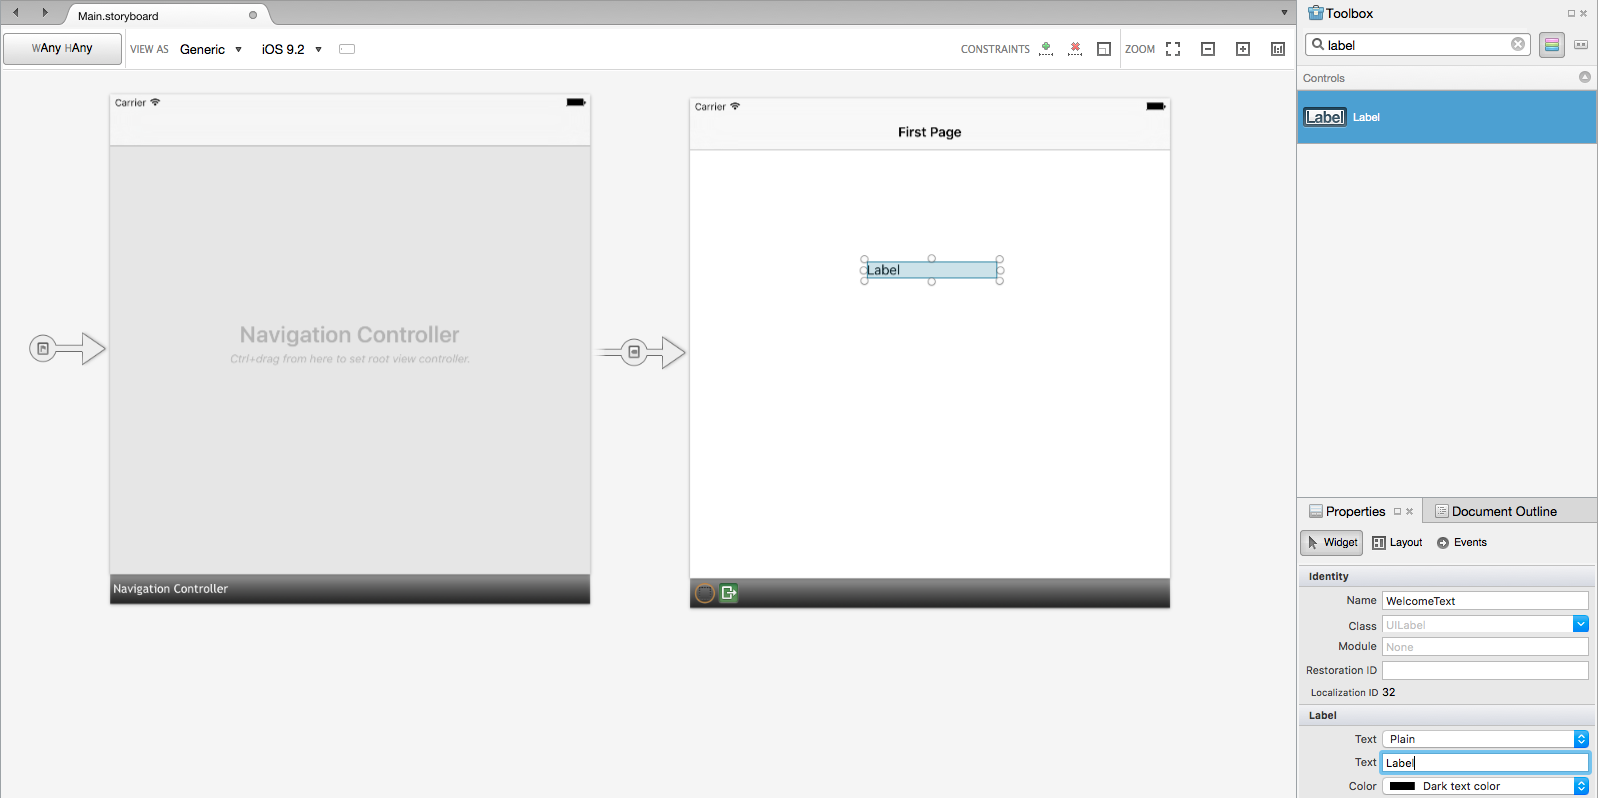
Drag a Label onto the MainViewController and set the name property to WelcomeText.
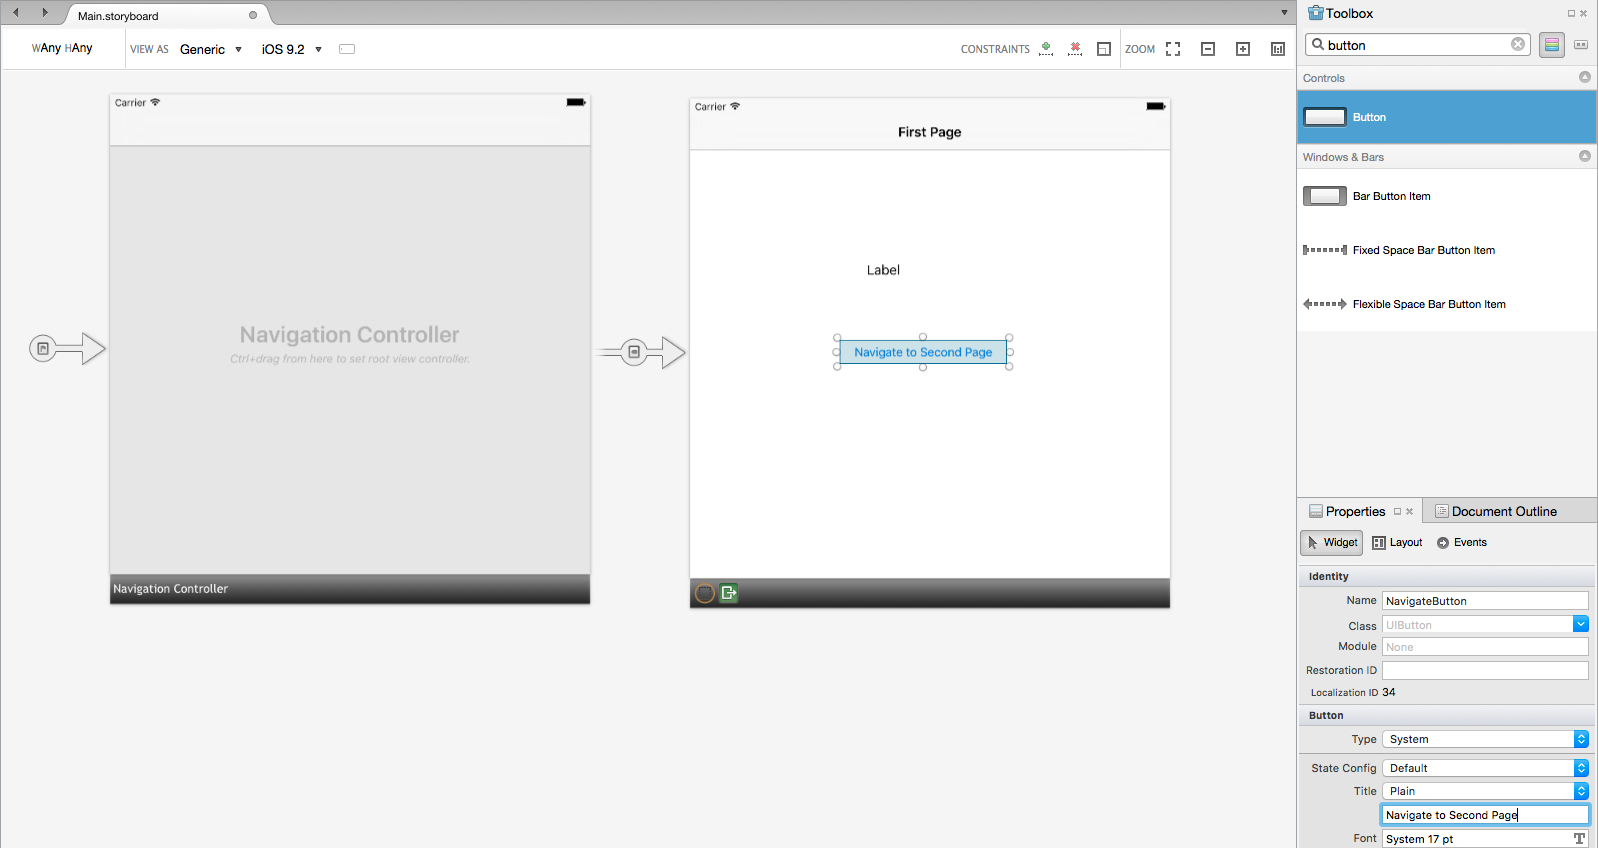
Drag a Button onto the MainViewController and set the Name property to NavigateButton and the Title to ’Navigate to Second Page’.
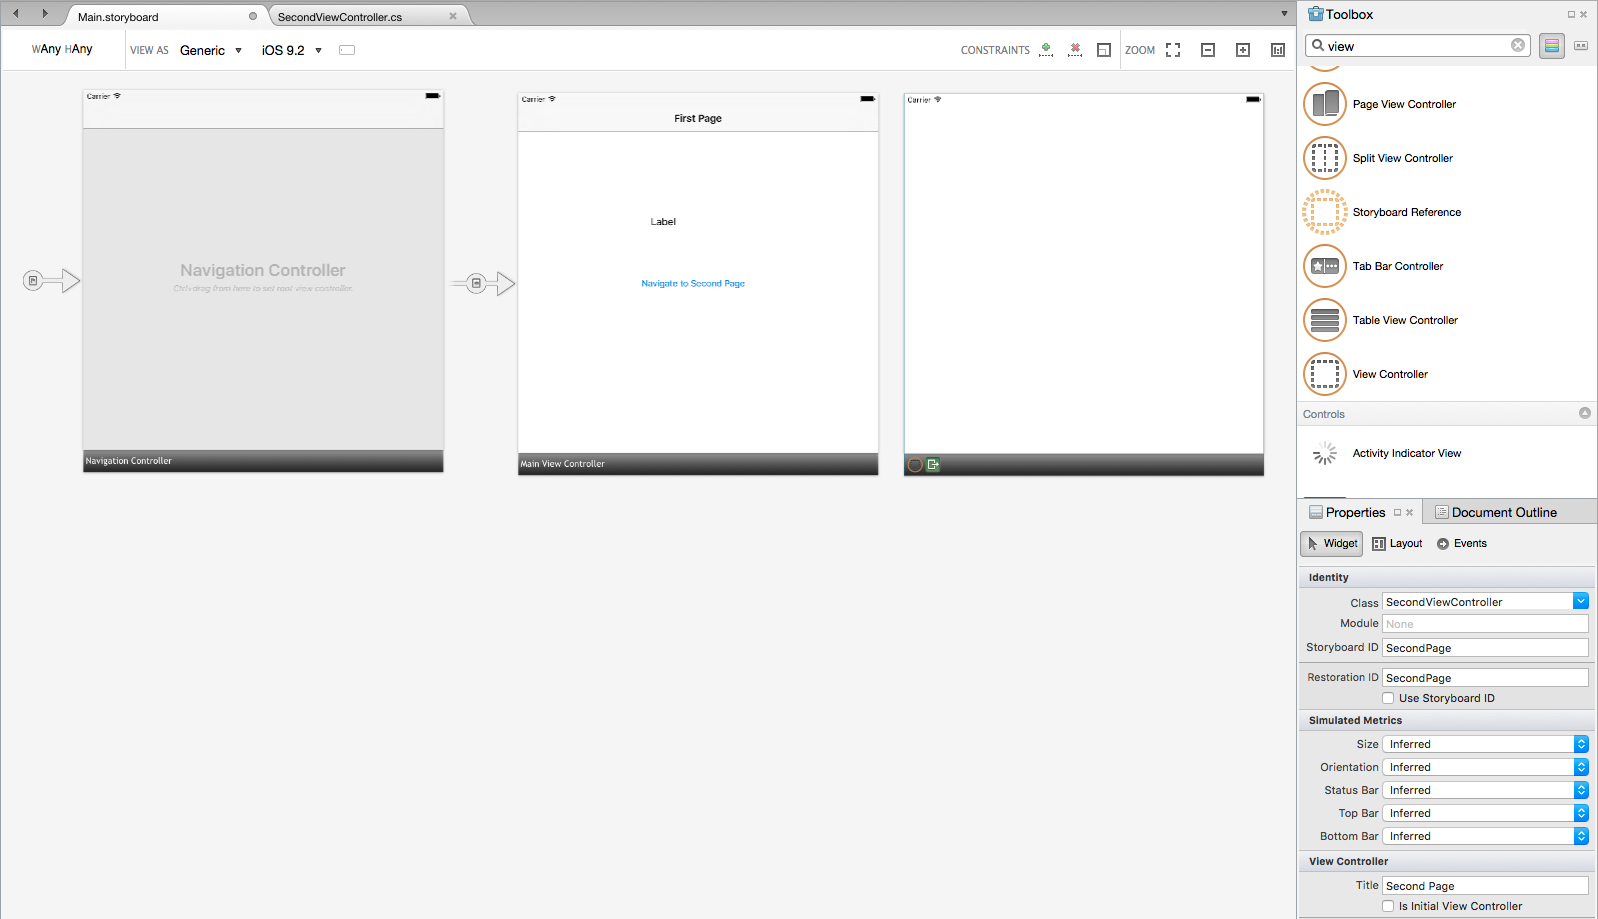
Now zoom out a little so there is a little more room and drag another ViewController onto the designer. This will be the second page of the application. Edit the properties of this view controller so the Class property = ‘SecondViewController’ (the class will be created when the Return key is pressed), Storyboard Id property = ‘SecondPage’, Restoration ID = ‘Second Page’ and the Tile property = ‘Second Page’. The StoryboardId is used by the NavigationService.
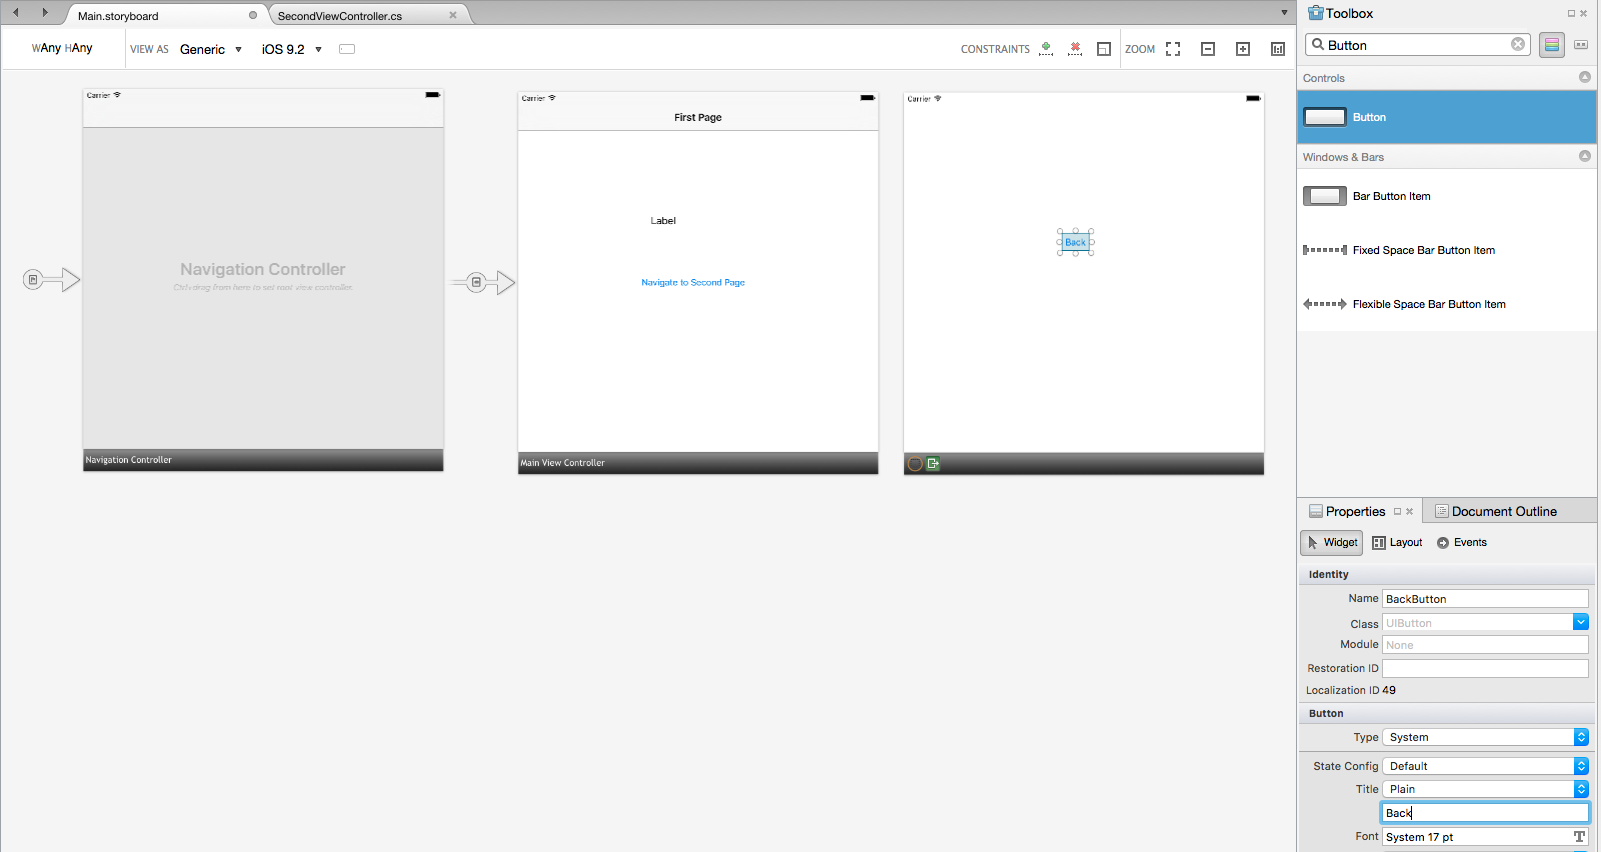
Drag a Button onto the SecondViewController and set the Name property to BackButton and the Title to ’Back’.
Open the MainViewController class and add the using statements:-
using System;

using System.Collections.Generic;
using GalaSoft.MvvmLight.Helpers;

using BasicNavigation.ViewModel;
using GalaSoft.MvvmLight.Views;
Change the class to derive from ControllerBase.
partial class MainViewController : ControllerBase
Now add the private member variable to retain the bindings and prevent them from being garbage collected:-
// Keep track of bindings to avoid premature garbage collection
private readonly List<Binding> bindings = new List<Binding>();
Next add the MainViewModel property, this property uses the ViewModelLocator to obtain the MainViewModel:-
private MainViewModel Vm
{
  get
  {
    return Application.Locator.Main;
  }
}
Next edit the ViewDidLoad method to bind the WelcomeTitle and NavigateCommand on the MainViewModel to the Label and Button on the MainViewController:-
public override void ViewDidLoad ()
{
  base.ViewDidLoad ();

  bindings.Add(
    this.SetBinding(
      () => Vm.WelcomeTitle,
      () => WelcomeText.Text));

  NavigateButton.SetCommand(
    "TouchUpInside",
    Vm.NavigateCommand);
}
The full class listing is:-
using System;

using System.Collections.Generic;
using GalaSoft.MvvmLight.Helpers;

using BasicNavigation.ViewModel;
using GalaSoft.MvvmLight.Views;

namespace BasicNavigation.iOS
{
  partial class MainViewController : ControllerBase
  {
    private readonly List<Binding> bindings = new List<Binding>();

    private MainViewModel Vm
    {
      get
      {
        return Application.Locator.Main;
      }
    }

    public MainViewController (IntPtr handle) : base (handle)
    {}

    public override void ViewDidLoad ()
    {
      base.ViewDidLoad ();

      bindings.Add(
        this.SetBinding(
          () => Vm.WelcomeTitle,
          () => WelcomeText.Text));

      NavigateButton.SetCommand(
        "TouchUpInside",
        Vm.NavigateCommand);
    }
  }
}
Now open the SecondViewController class and add the using statements:-
using GalaSoft.MvvmLight.Views;
using Microsoft.Practices.ServiceLocation;
Next edit the ViewDidLoad method to add an event handler for the BackButton to call the INavigationService.GoBack method to return to the main page:-
public override void ViewDidLoad()
{
  base.ViewDidLoad();

  BackButton.TouchUpInside += (s, e) =>
  {
    var nav = ServiceLocator.Current.GetInstance<INavigationService>();
    nav.GoBack();
  };
}
The full class listing is:-
using System;

using GalaSoft.MvvmLight.Views;
using Microsoft.Practices.ServiceLocation;

namespace BasicNavigation.iOS
{
  partial class SecondViewController : ControllerBase
  {
    public SecondViewController (IntPtr handle) : base (handle)
    {}

    public override void ViewDidLoad()
    {
      base.ViewDidLoad();

      BackButton.TouchUpInside += (s, e) =>
      {
        var nav =
          ServiceLocator.Current.GetInstance<INavigationService>();
        nav.GoBack();
      };
    }
  }
}
The implementation should now be complete. Run the application and use the buttons to navigate between the pages, note that the 'First Page' button in the TitleBar works also.
The complete code for both iOS and Android implementations of the BasicNavigation app can be found on GitHub.